How to: taking amazing photos at the blue hour
The first thing about shooting at the blue hour is that it’s …. E.A.S.Y! What no, that can’t be… too good to be true! Now, in order for all of your readers to think it’s EASY, I’ll walk you through the steps you SHOULD follow in order to get amazing results.
Now first,what is the BLUE HOUR??? Well according to wikipedia:
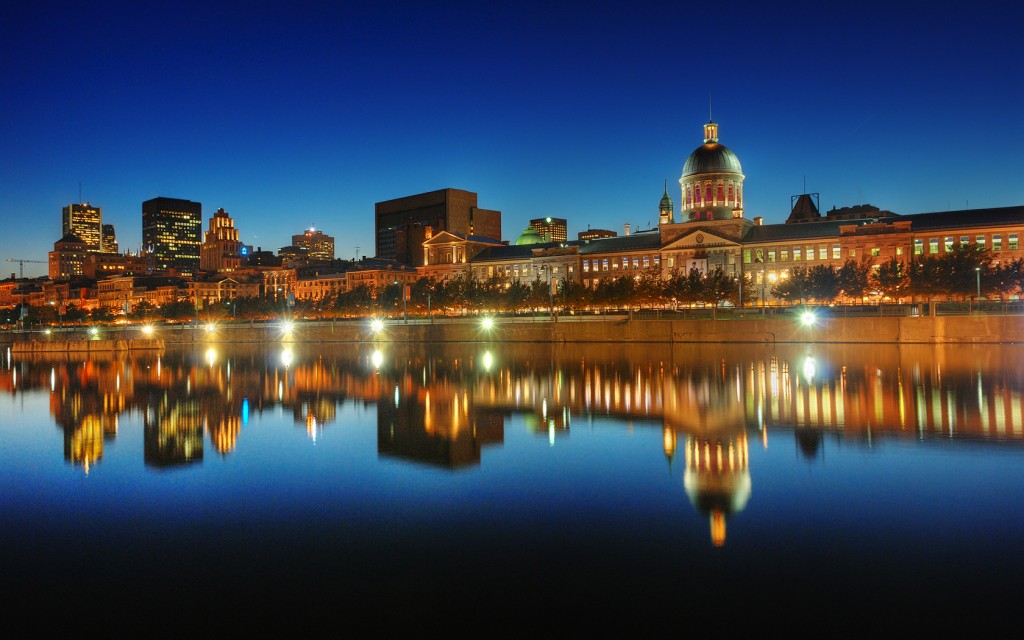
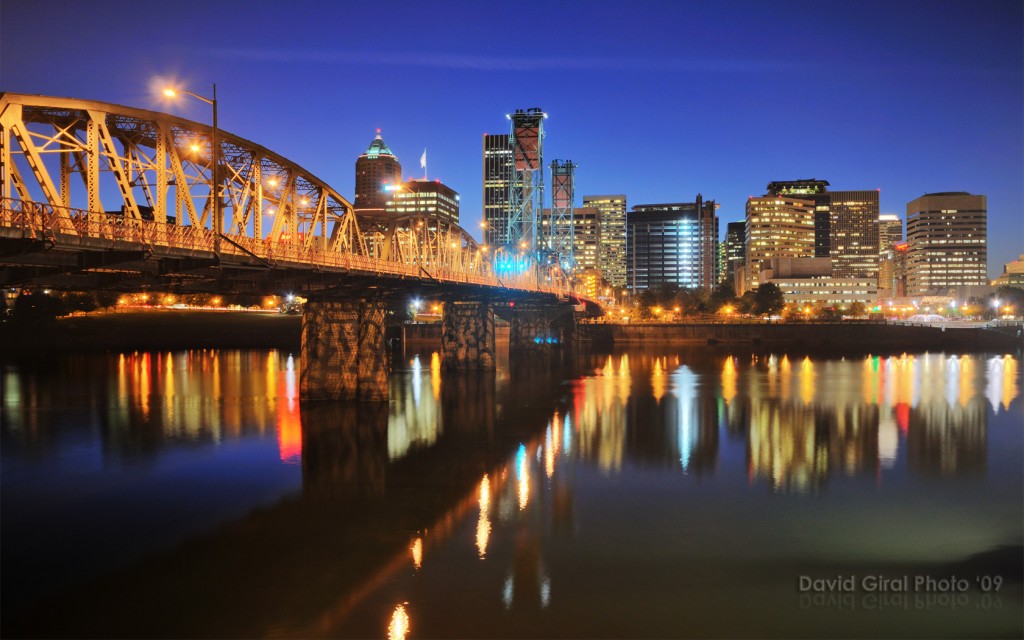
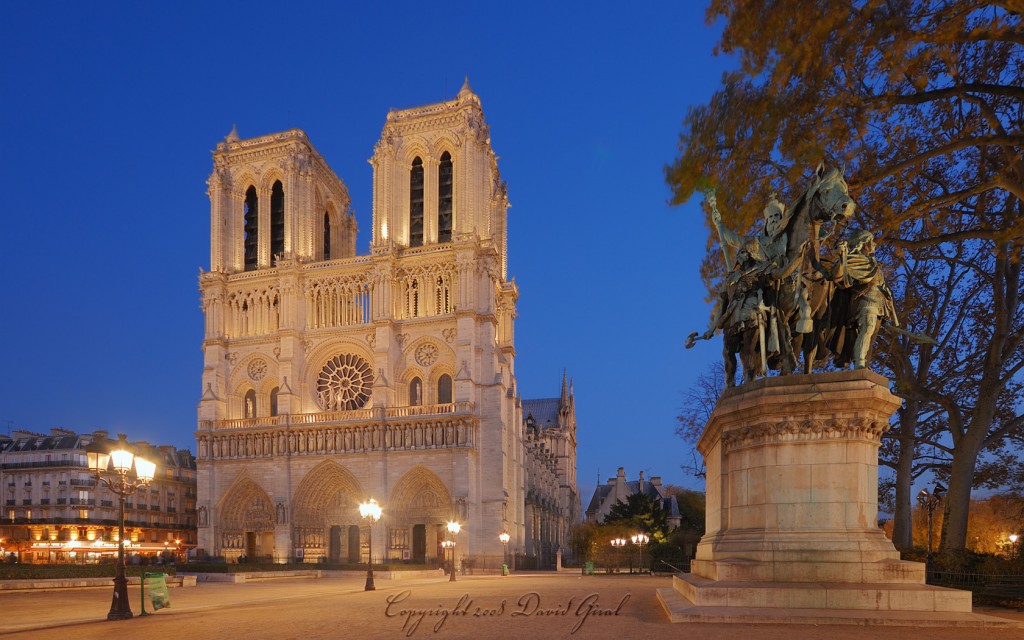
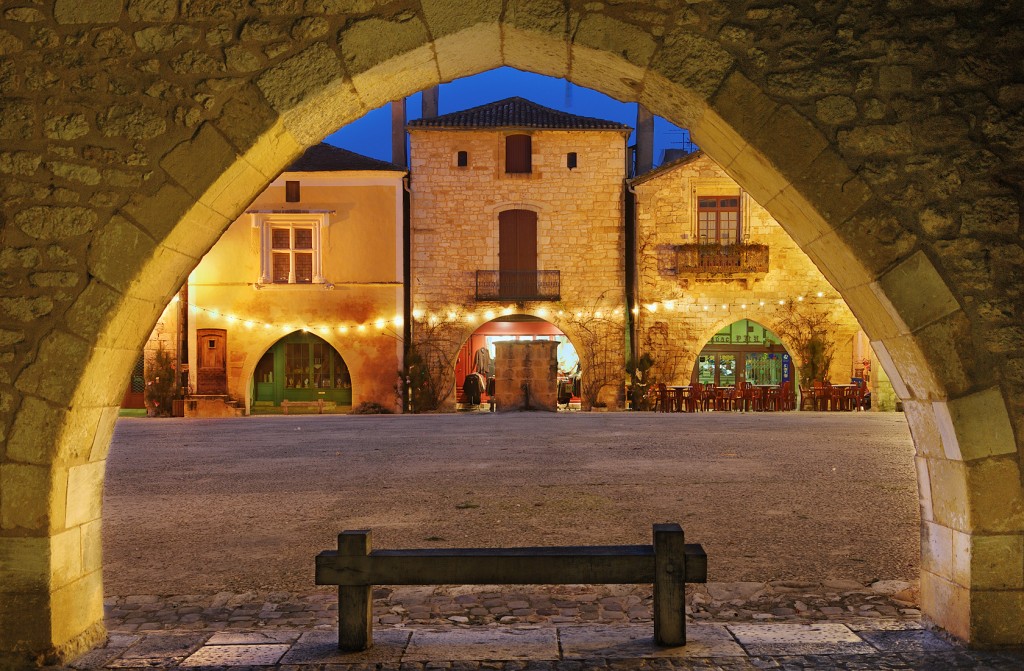
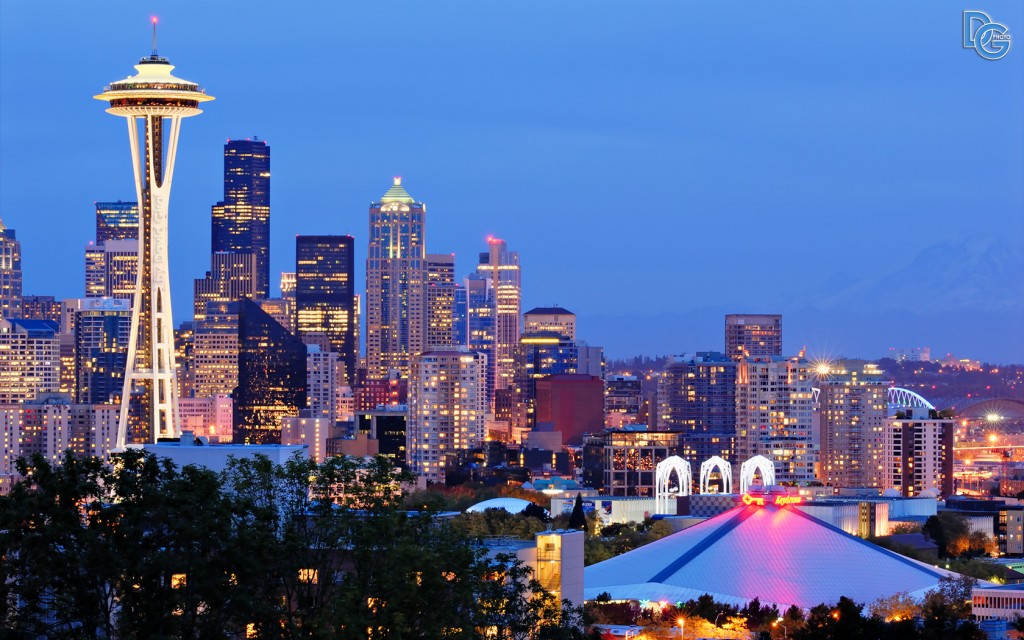
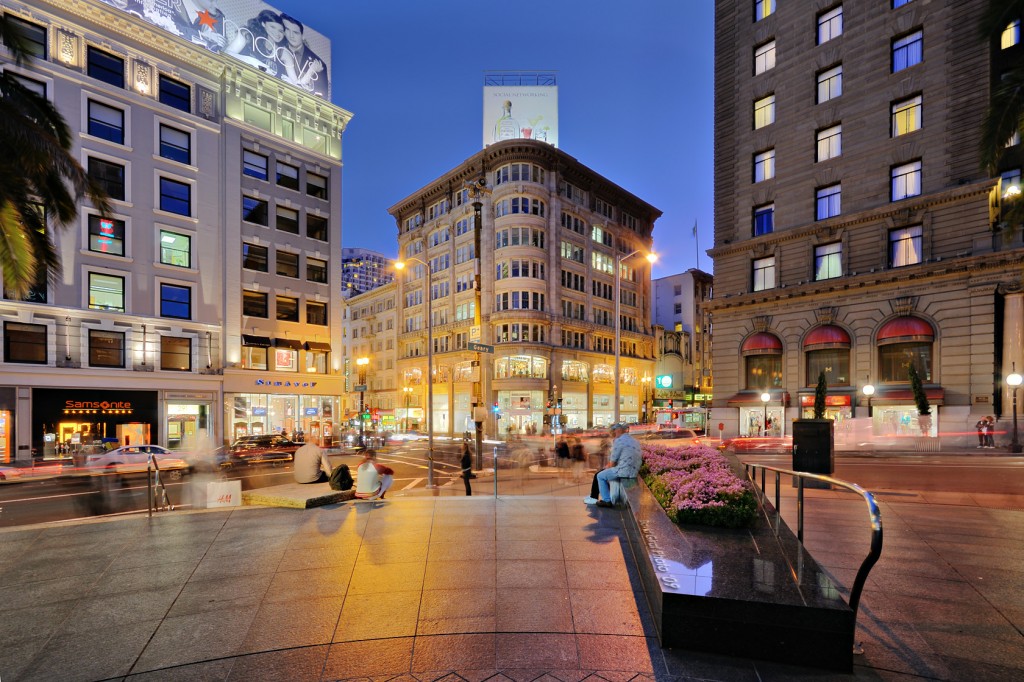
The blue hour comes from a French expression, l’heure bleue, which refers to the period of twilight each morning and evening where there is neither full daylight nor complete darkness. The time is considered special because of the quality of the light at this time of day. The blue hour is considered especially flattering for people with blond hair in photography and is often also when the smell of the flowers is at its strongest during the summertime.
Pretty simple, though if you want a more precise and technical definition, the blue hour happens usually starts 30 minutes after sunset and 30 minutes before sunrise. The duration of the blue hour is generally around 30 minutes. For a better experience, it’s best to go shooting just after it has stopped raining. Also, the quality of light at the blue hour is usually at its best during fall season. At this time of the year, it looks almost like the sky is glowing.
- SCOUT: Because you don’t have much time to shoot at the blue hour, you MUST plan for it and the first step is finding locations where you’ll be able to shoot different angles in 30-45min! Scouting will also help you frame the photos in your head when the sun is up and get a good feeling of distances. Squares and waterfronts or look-outs are usually the best places to achieve this rather easily. Oh one more thing, the blue hour starts to the east and progresses to the west, plan accordingly.
- USE GOOGLE MAPS and FLICKR: Well, if you can’t scout because you’re only be going there on vacation, use Google Maps to view the orientation of the locations photographed and check flickr for the best shooting locations (not doing so would be idiotic, finding new locations of places you don’t know is pretty challenging and remember that the clock is ticking… 30 minutes of good shooting!)
- WEATHER: If you want to get the best results, pick a day without smog. Shoot a day after it has stopped raining, The sky will be clean of most particles and impurities.
- PREPARE YOUR GEAR:
- Take your tripod: Exposures at ISO 100 and F/8.0 usually go between 4-30 seconds
- Take your remote trigger release to avoid vibrations
- Clean your lenses and put the hood to avoid flare
- Mount the lens you will most likely use ( I use a Sigma 10-20mm for architecture shoots and 17-50mm for landscapes or cityscapes)
- Set the camera to Aperture priority mode or Manual mode, ISO 200 or below (you really don’t want noise in the blue sky because of high ISO).
- Use a circular polarizer if you shoot on the shore of a river or lake (remove it once it lengthen exposures besides 30s).
- Take a bubble level
- BE ON LOCATION EARLY: I always try to be on location early (30 minutes) for two simple reasons:
- If I couldn’t scout, it leaves me time to check for alternate locations
- I’m totally relaxed. I usually bring a book with me and read while the sun is going down.
- USE A LEVEL: I always have a bubble level on my flash hotshoe to make sure the camera is levelled.
- BRACKET: even if you don’t plan on blending exposures in Photoshop or doing HDRs, bracketing make sure you won’t miss any exposure. Take as many possible as possible.
- EXPOSE CORRECTLY: If you use matrix metering, in aperture priority, compensate between 0.7 and 1.5ev. Otherwise shoot in manual mode and check the result at the back at the camera so that you don’t have too many dark shadows. The histogram should have a clear dome at its left (which means you haven’t clipped the shadows too much and that the image is not too dark!
- INCREASE YOUR AWARENESS: You want to make great photos, relax, breathe and feel the smell in the air, the wind on your skin, the flow of water and let your intuition guide you.
- RUN!!!: Damn it does not last long so if you can, train yourself at being able to run like a crazy monkey with a big tripod looking for your next shot! LOL
Now this is not over. Taking the photos is a good thing, but processing them is key to get the best results… stay tuned for part 2!!!
Book me for:
- a portrait session or a portfolio, or
- an assignment (architecture/urban landscape), or
- a Photoshop training lesson (english and french)
David Giral is a published Montreal/Toronto based editorial and commercial professional photographer specialized in architecture, interiors, portrait and travel photography.
Blog | Flickr | Twitter | Facebook | Google+ | LinkedIn | Email
Text, photographs, and other media are © Copyright David Giral (or others when indicated) and are not in the public domain and may not be used on websites, blogs, or in other media without permission from David Giral.


Interesting Foto
nice capture
Pingback: Exploring Quebec City: Blue Hour On the City / Heure Bleue sur La ville | Editorial landscape, travel, architecture and portrait photography | Professional Photography tips | David Giral Photography Blog