Making Of: The Lexus on Broadway Avenue, New York City
On my last trip to New York City, I had planned for a few HDR sessions during my stay, mixed in with some editorial shooting in NYC.
Image Info
For this HDR “making of”, 5 exposures were taken with a Nikon D700 + Nikkor AF-S 16-35mm f/4 G ED VR with the following settings:
exposure time: 0.6s (0EV), 1/6s (-2EV), 0.3s (-1EV), 1.3s (+1EV), 2.5s (+2EV)
focal length: 16.0 mm
aperture: F10.0
ISO: 200
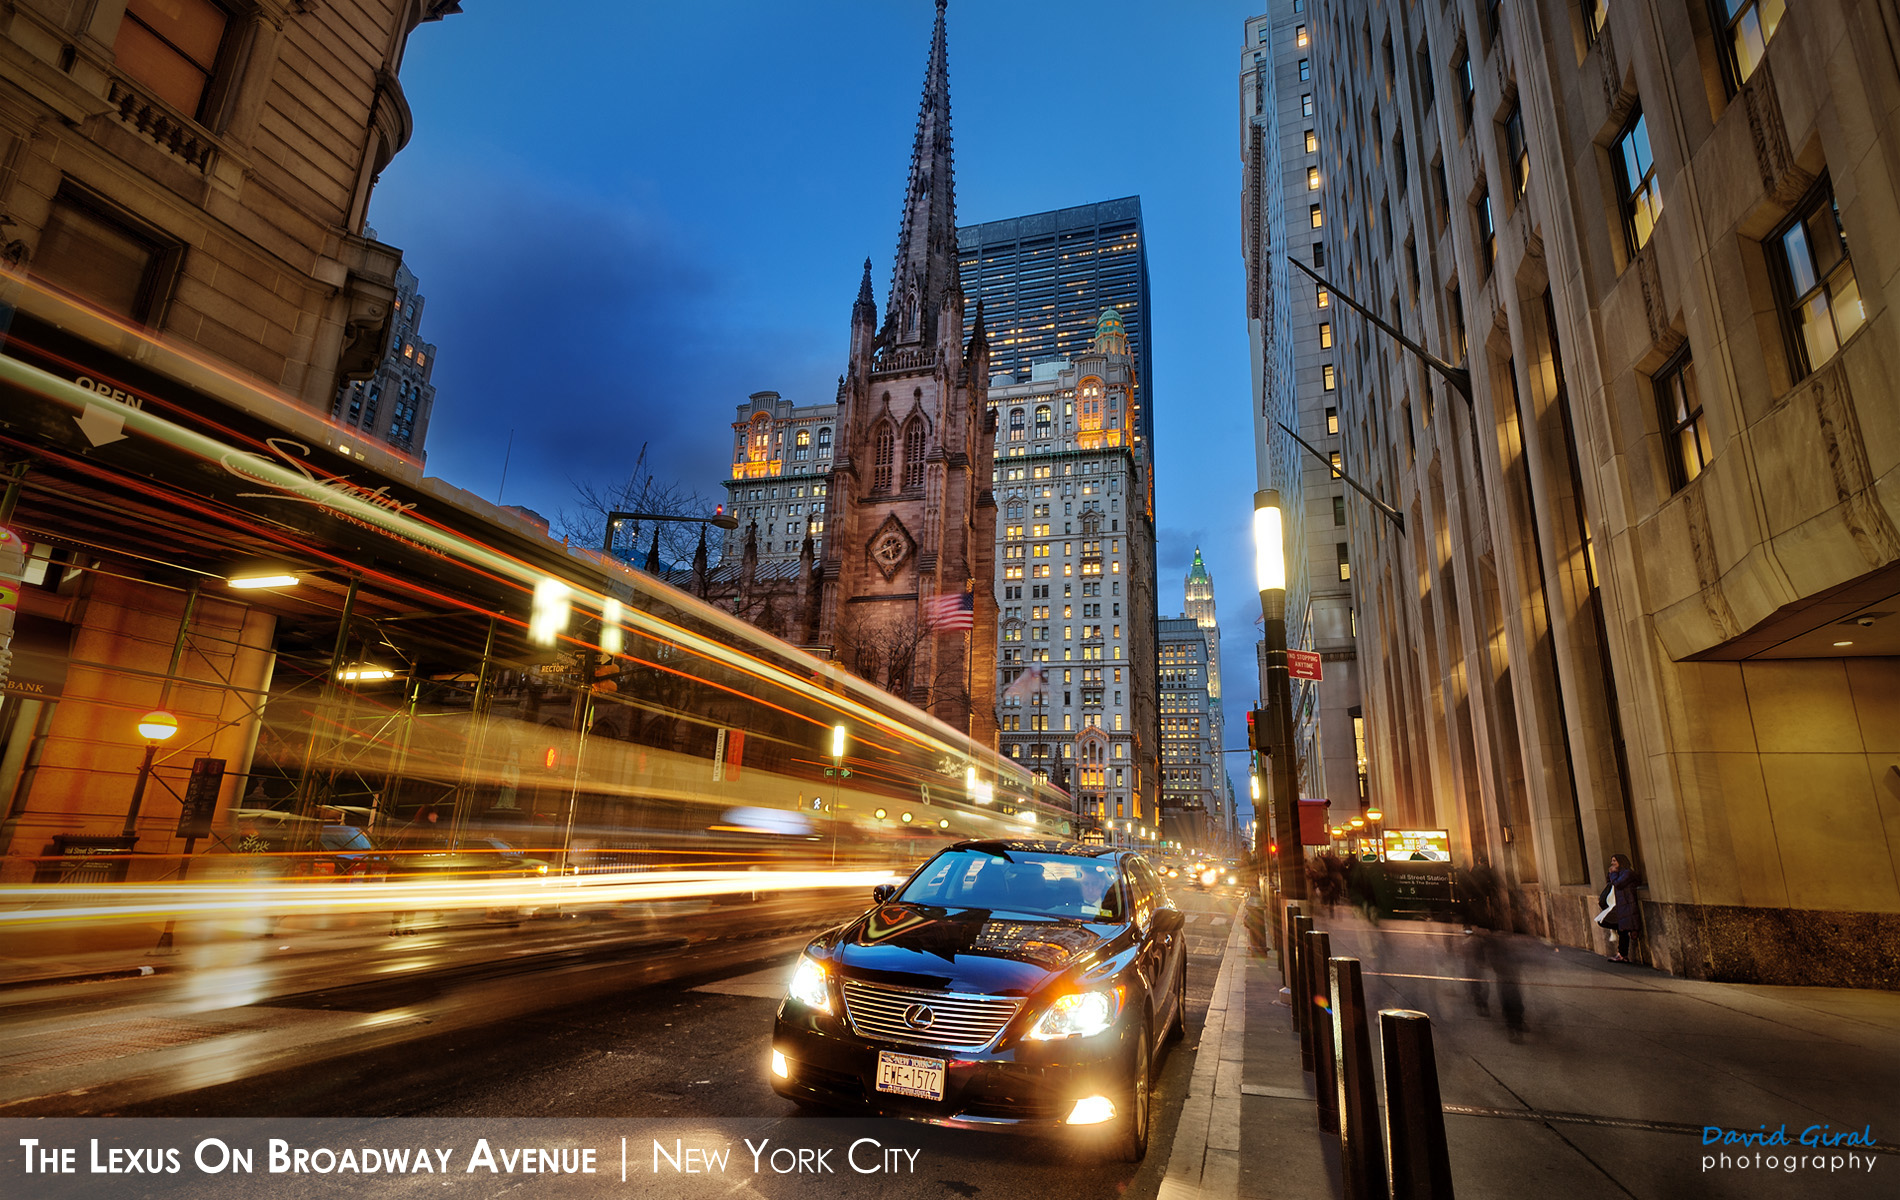
Before taking the shot (see location), I waited for a bus to come into the frame for the longest exposure. Fortunately, the Lexus was parked and wasn’t moving in any of the frames, making the contrast between the car/bus trails and the motionless car more striking.
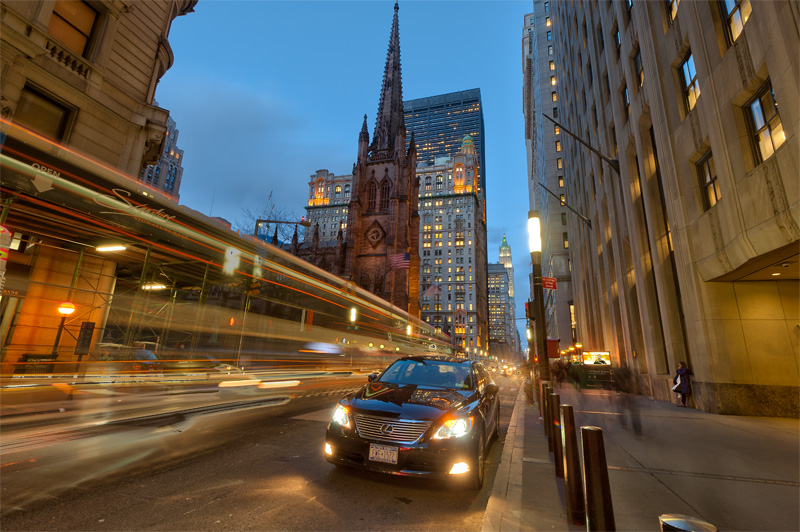
RAW exposures
HDR Exposure (realistic version) processed in Oloneo PhotoEngine
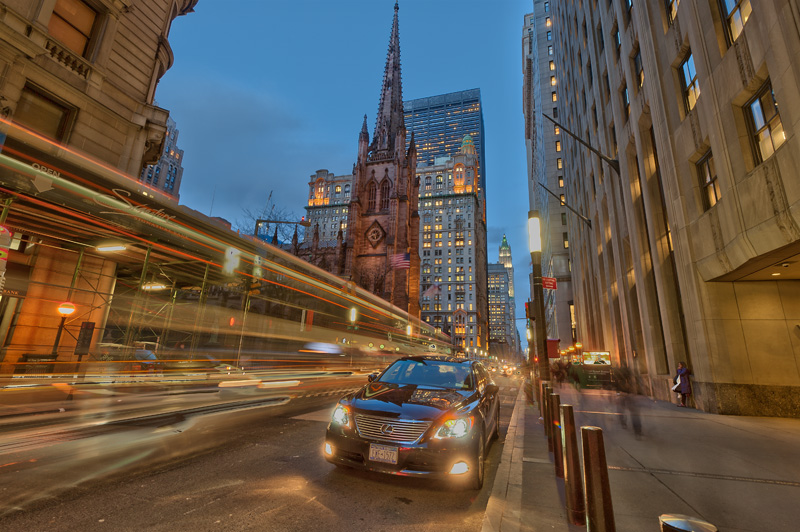
HDR Exposure (extreme version) processed in Oloneo PhotoEngine
The Final Result (full HD wallpaper)
The Making Of
The Video
The steps
For this making of, the following steps were undertaken.
- Image alignment: it so happens from time to time that the tripod is moved slightly in between exposures. To fix this, I used the “load files into stack” script in Photoshop and repasted the corrected TIF into its original file.
- dual HDR processing in Oloneo PhotoEngine (if you haven’t checked the review, it’s here): The first tonemapping was fairly realistic and would be used as a basis for the image, then a second tonemapping was applied and would be used for certain parts of the image.
- manual blending of the two HDR generated
- semi-automatic blending of the sky of one of the exposures using selections composites.
- manual blending of the bus/car trails and hot spots
- local contrast adjustments using blending modes such as soft light and normal blending modes
- sharpening and edge sharpening using low and high radius high pass sharpening
- special effects
David Giral is a published Montreal/Toronto based editorial and commercial professional photographer specialized in architecture, interiors, portrait and travel photography.
Blog | Flickr | Twitter | Facebook | Google+ | LinkedIn | Email
Text, photographs, and other media are © Copyright David Giral (or others when indicated) and are not in the public domain and may not be used on websites, blogs, or in other media without permission from David Giral.


Richard Sisk
Great tutorial David! I have embedded your fine tutorial at my HDR info site: http://hdr360pro.com/
I also included links to your site and blog
Silverbleed
Amazing! Thank you so much for sharing. I’d really like to try it myself sometime. I’ll fail horribly but practice makes perfect, right? :’)
fotoclipping
love the simple elegance of these. beautiful warm light. amazing.