How To: creating a simple low key dramatic portrait
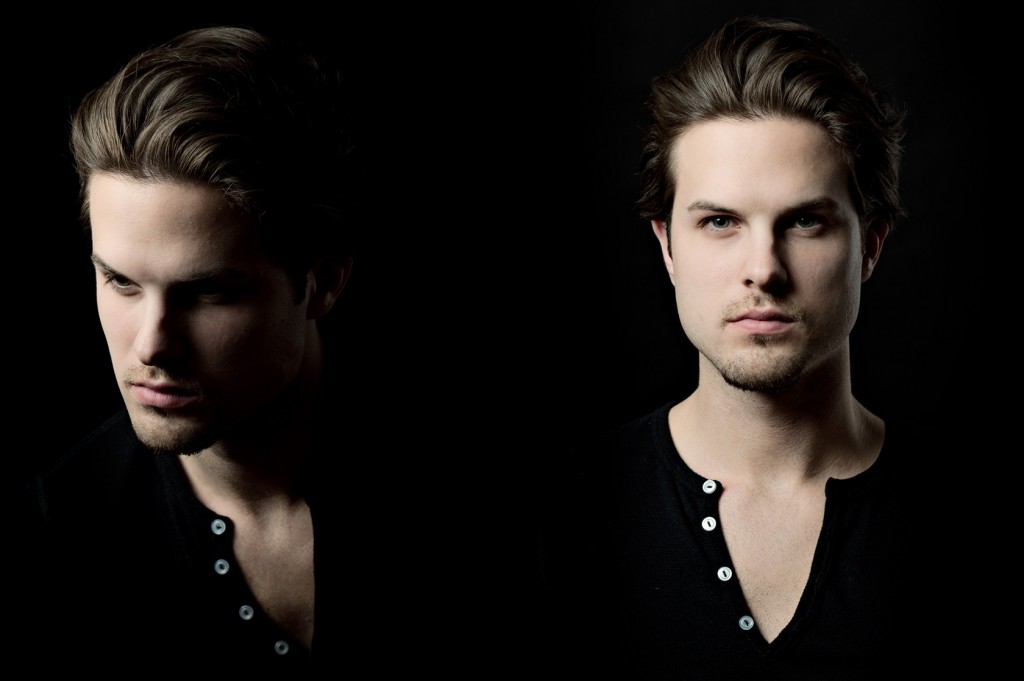
Looking to create a dramatic portrait using simple lighting? look no further… This week’, we’ll be exploring how to create just that using a simple lighting setup…. enjoy!
1. Light Setup
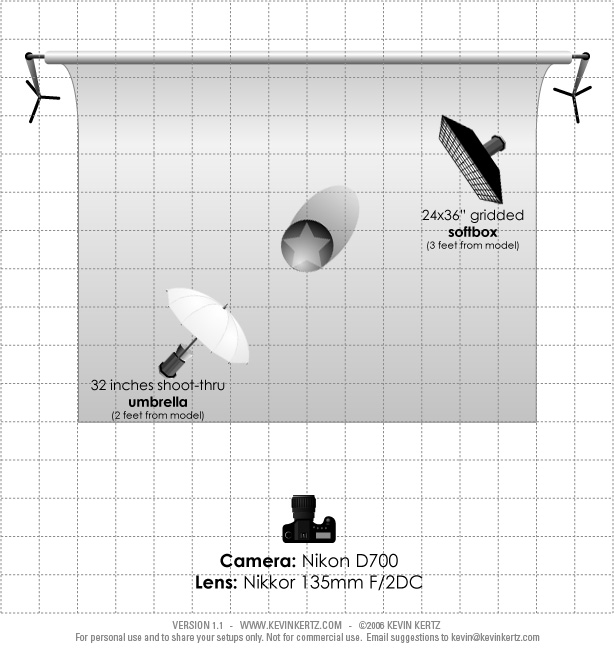
This light setup is pretty straightforward.
Background is a black seamless and the talent, Olivier, stands about 4-5 feet in front of it.
Main light is an Alienbees AB400 flash at 1/4th power equipped with a Photoflex 30 inches white convertible shoot-thru umbrella pretty close to Olivier, at around 2 feet and slightly above his head. One of the upside of the shoot-thru umbrella vs a standard umbrella is that it allows for the light source to be close to the subject. Being close, light falls of pretty quickly giving a soft and contrasted lighting. Off axis lighting like this is often called “Rembrandt Lighting”. Its signature is the triangle that we can observe on the left side of the face.
Back light is a Alienbees AB400 flash at 1/16th power equipped with a 24×36″ softbox with a grid 3 feet from the subject. This back light just highlights the left cheek of the subject while keeping the light pretty dramatic.
note: This light could easily be replaced by a white v card bouncing the main light to the left side of Olivier or by another shoot thru umbrella (although the spill would be greater).
2. the shoot
Because Olivier is a agency model, it was pretty easy to get him to pull a classic focused and intense look to match the dramatic lighting.
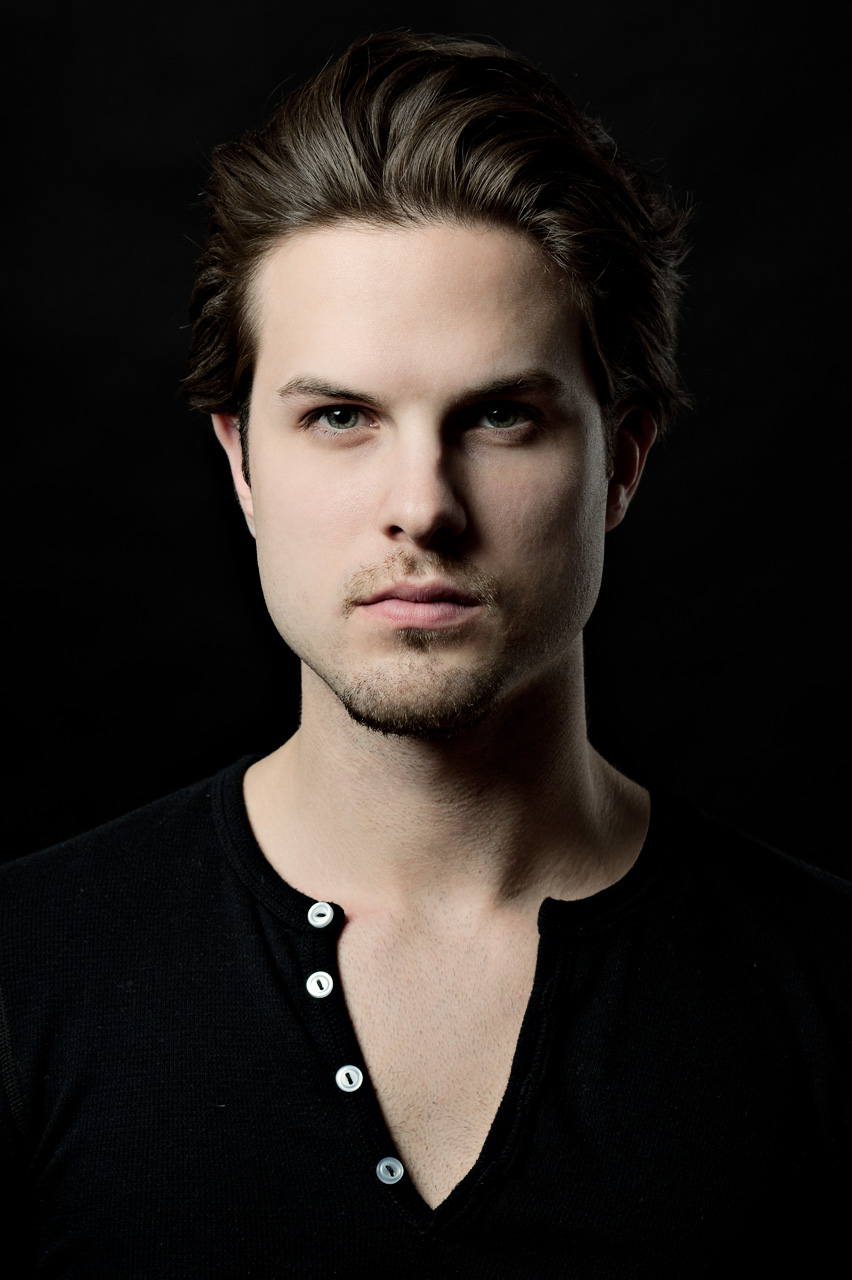
For this first shot, I wanted a straight on headshot with high intensity and a little bit of mystery. I did do a version without the back light (24×36″ softobox), but in this case I liked how that back light added some dimension to his left side while keeping some drama.
For the second shot, I was looking for a classic “look away” headshot, so with the main light still at the same location, I asked Olivier to lower his head a little bit just enough so the light falls off dramatically on his left side. I did move the back light slightly closer to the camera just to just to get a hint of his left side. For this shot, the camera was slightly more to the right and the picture was taken from above standing on a stool.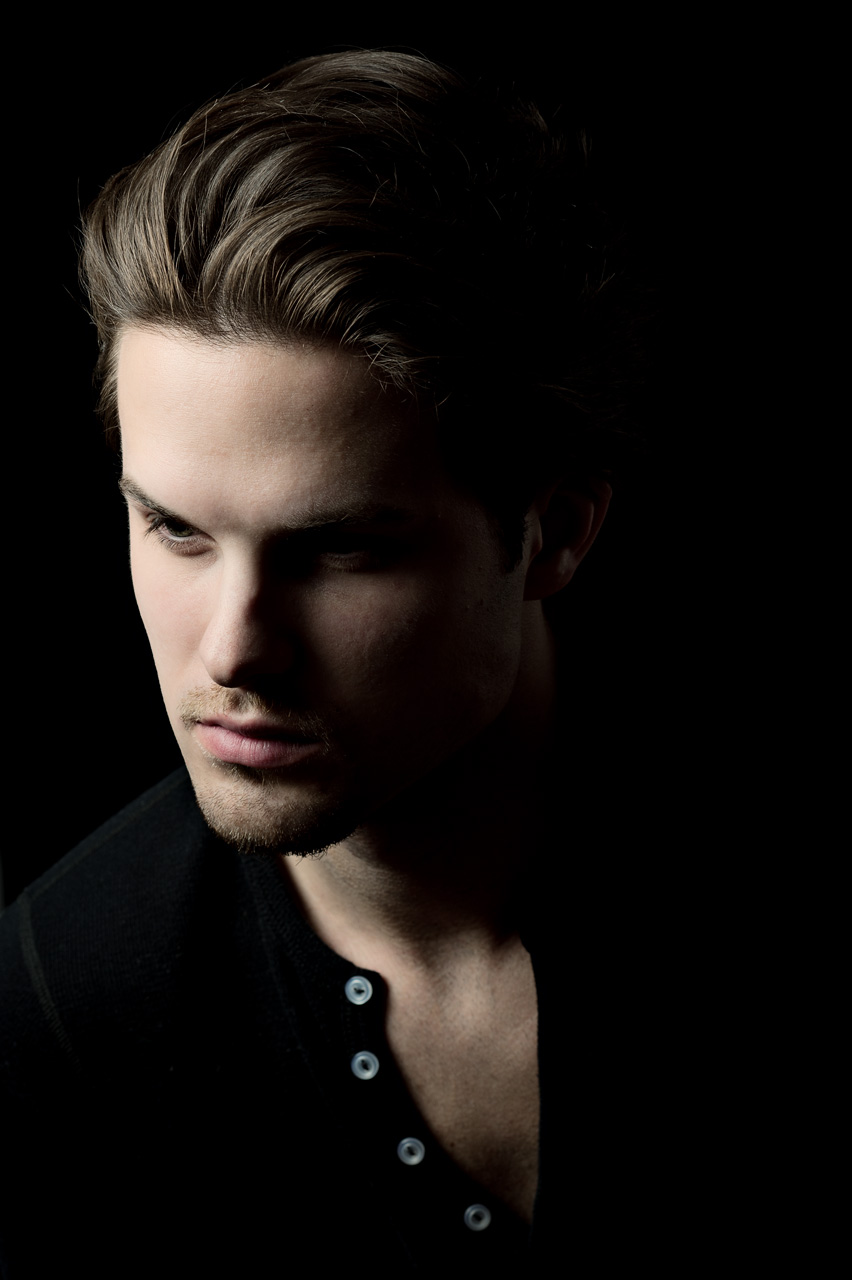
3. the editing
Workflow for those two shots included:
Step 1 – Removal of skin blemishes (done in Adobe Camera Raw)
Step 2 -Removal of skin imperfections, small hair, red veins in the eyes using mostly the healing brush.
Step 3 – General curves adjustments using levels and curves adjustment layers and a mask based on channels luminosity to affect mostly shadows and midtones and not highlights.
Step 4 – Color correction: Most of the time, I like to tune the white balance by using a color balance adjustment layer.
Step 5 – Sharpening. In this example, high pass sharpening and luminosity masking was used.
David Giral is a published Montreal/Toronto based editorial and commercial professional photographer specialized in architecture, interiors, portrait and travel photography.
Blog | Flickr | Twitter | Facebook | Google+ | LinkedIn | Email
Text, photographs, and other media are © Copyright David Giral (or others when indicated) and are not in the public domain and may not be used on websites, blogs, or in other media without permission from David Giral.


pauline
Lovely piece. I would try it immediately