How To: The Art of shooting Urban Skylines
From Montreal to Chicago and San Francisco passing by Hong Kong, Sidney and Kuala Lumpur, there are hundreds of beautiful skylines in the world. With each city featuring a specific architecture and unique natural surroundings, a skyline is a city’s visual signature.
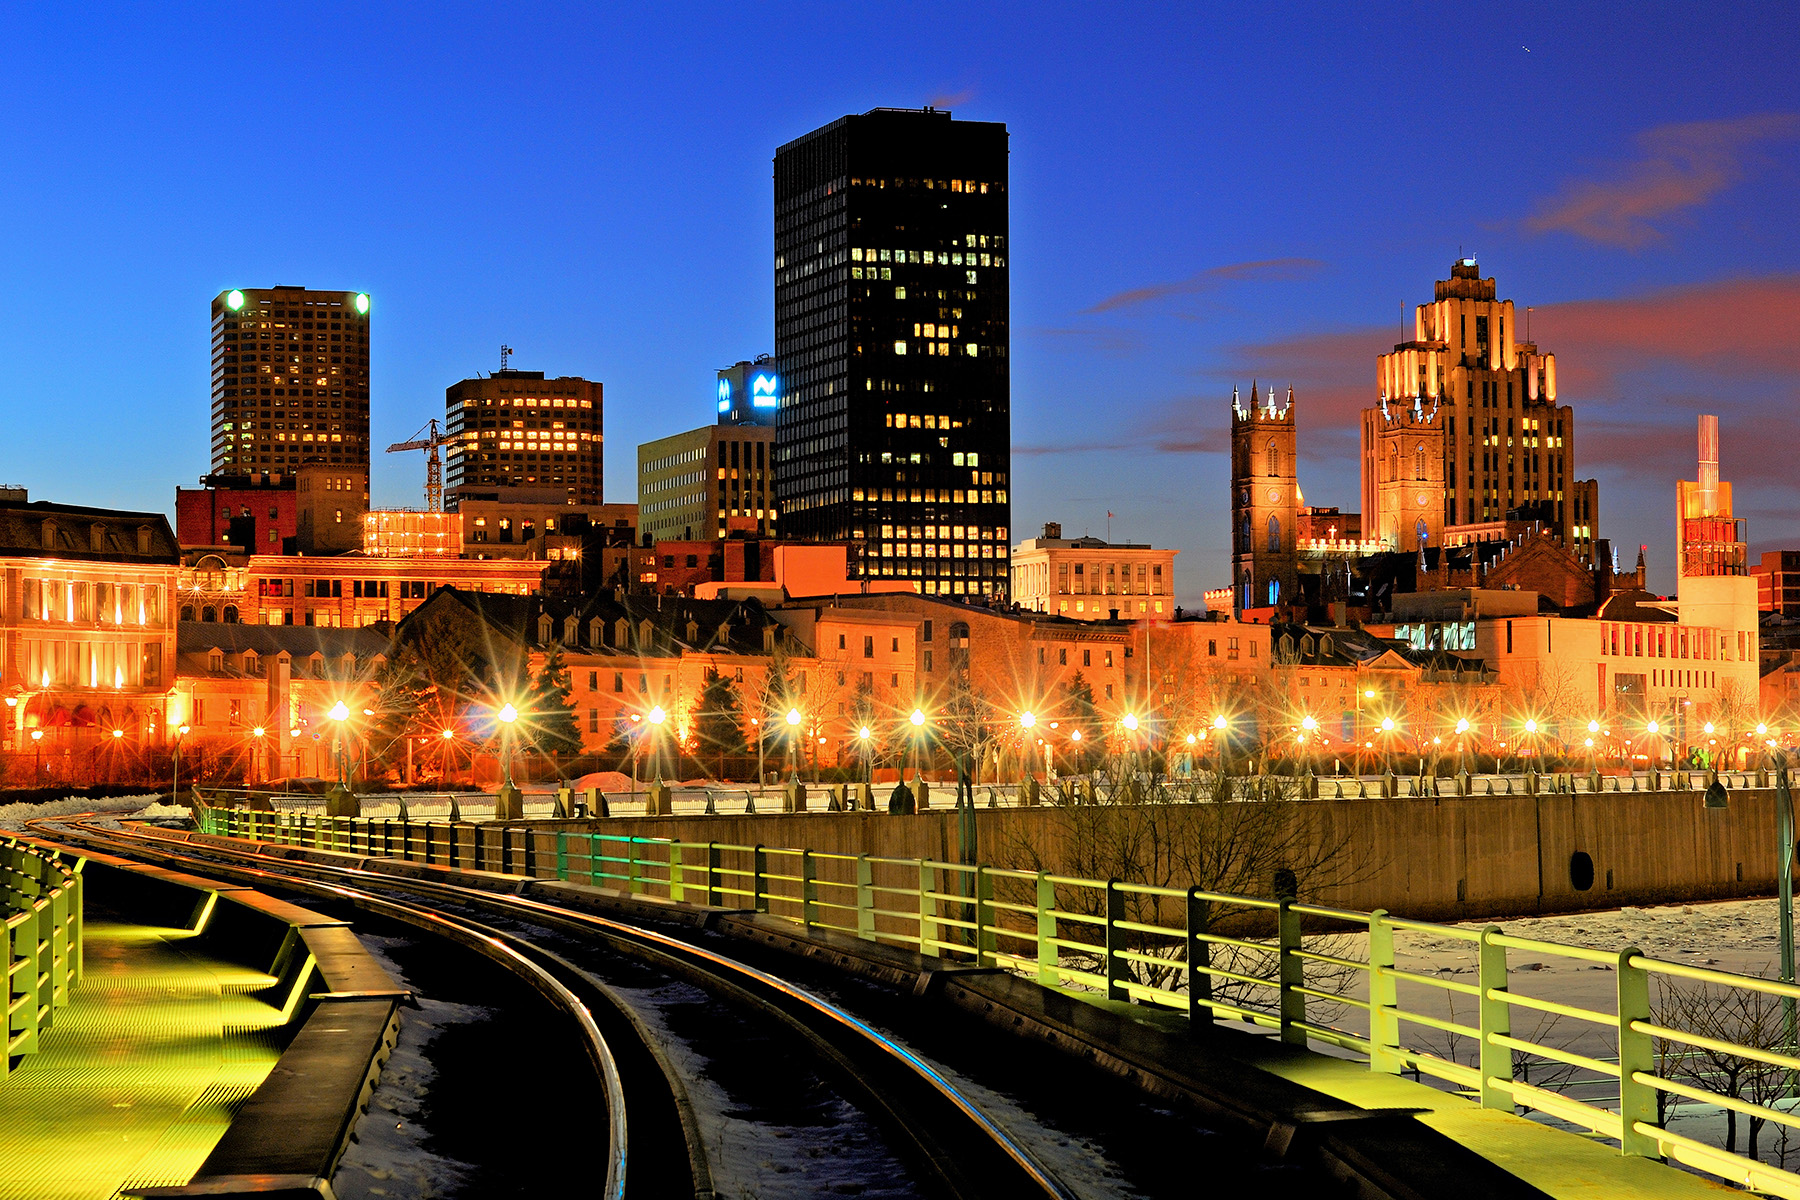
In essence, capturing skylines is all about creating a fingerprint of a city; it’s also about showing its life and soul through a single image. When shooting skylines, it’s important to include key landmarks into the picture. For instance, a Montreal skyline photograph without the Mont Royal in the background or a recognizable skyscraper such as Place Desjardins or even the Bonsecours Market is likely to make the picture less captivating for the viewer.
One of the main challenges in shooting skylines is managing to create images with a different perspective that doesn’t look like a snapshot. This can be achieved by several means such as choosing a specific time of the day or specific weather conditions or even to find a vantage point that gives a unique perspective on the city.
One of my most important rules about skyline photography is preparation. Taking great pictures is all about pre-visualization, being able to create pictures of the desired outcome in your mind. What I usually do before going on a shoot is take an hour or two to explore the city on Google maps and identify potential vantage points. Switching to street view is also a great tool to have an approximate idea of what you could see on location.
Over the years, Flickr has become one of my favorite places to look for inspiration. The photo sharing website has been online since 2004 and is a great resource to gather inspiration from other photographers. Using the Flickr explore maps, you can find out what are the most popular vantage points to shoot from and you can pre-visualize the results you could obtain.
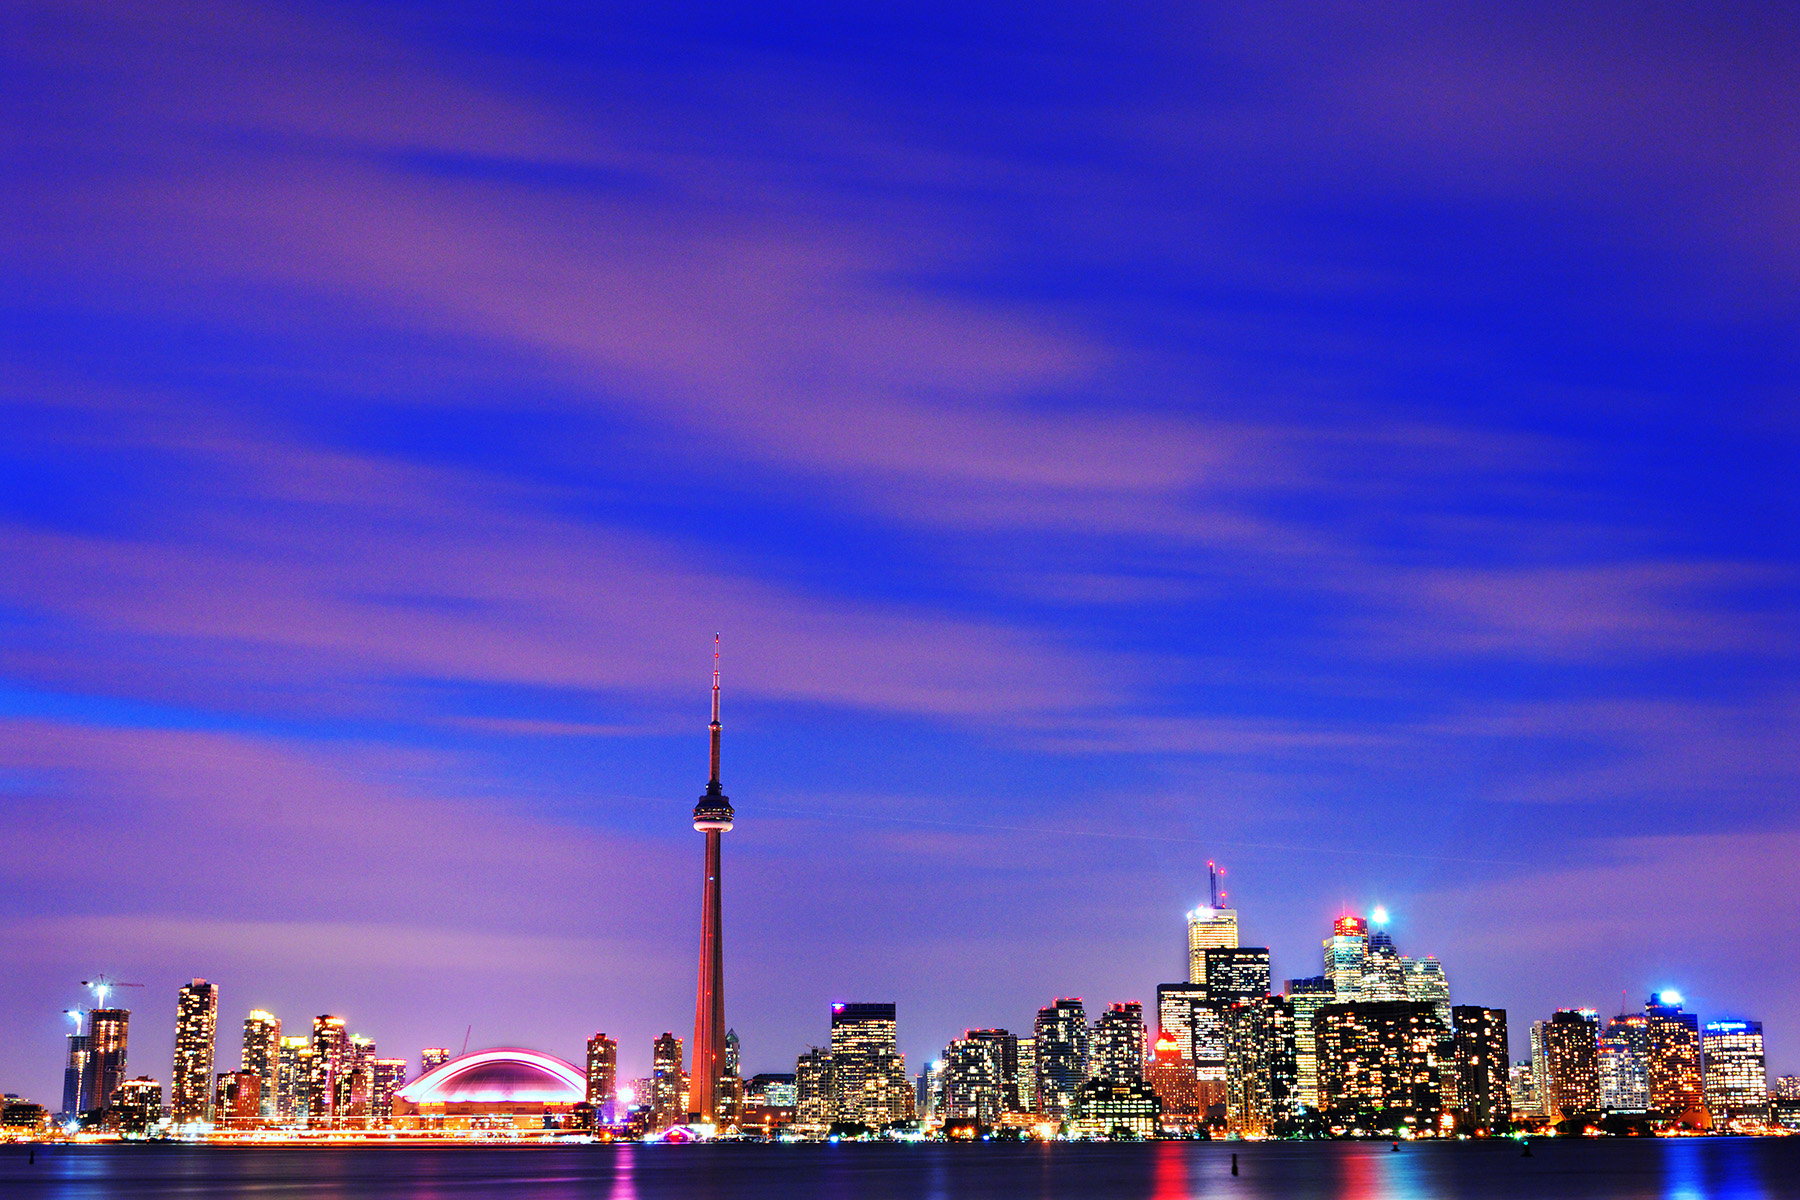
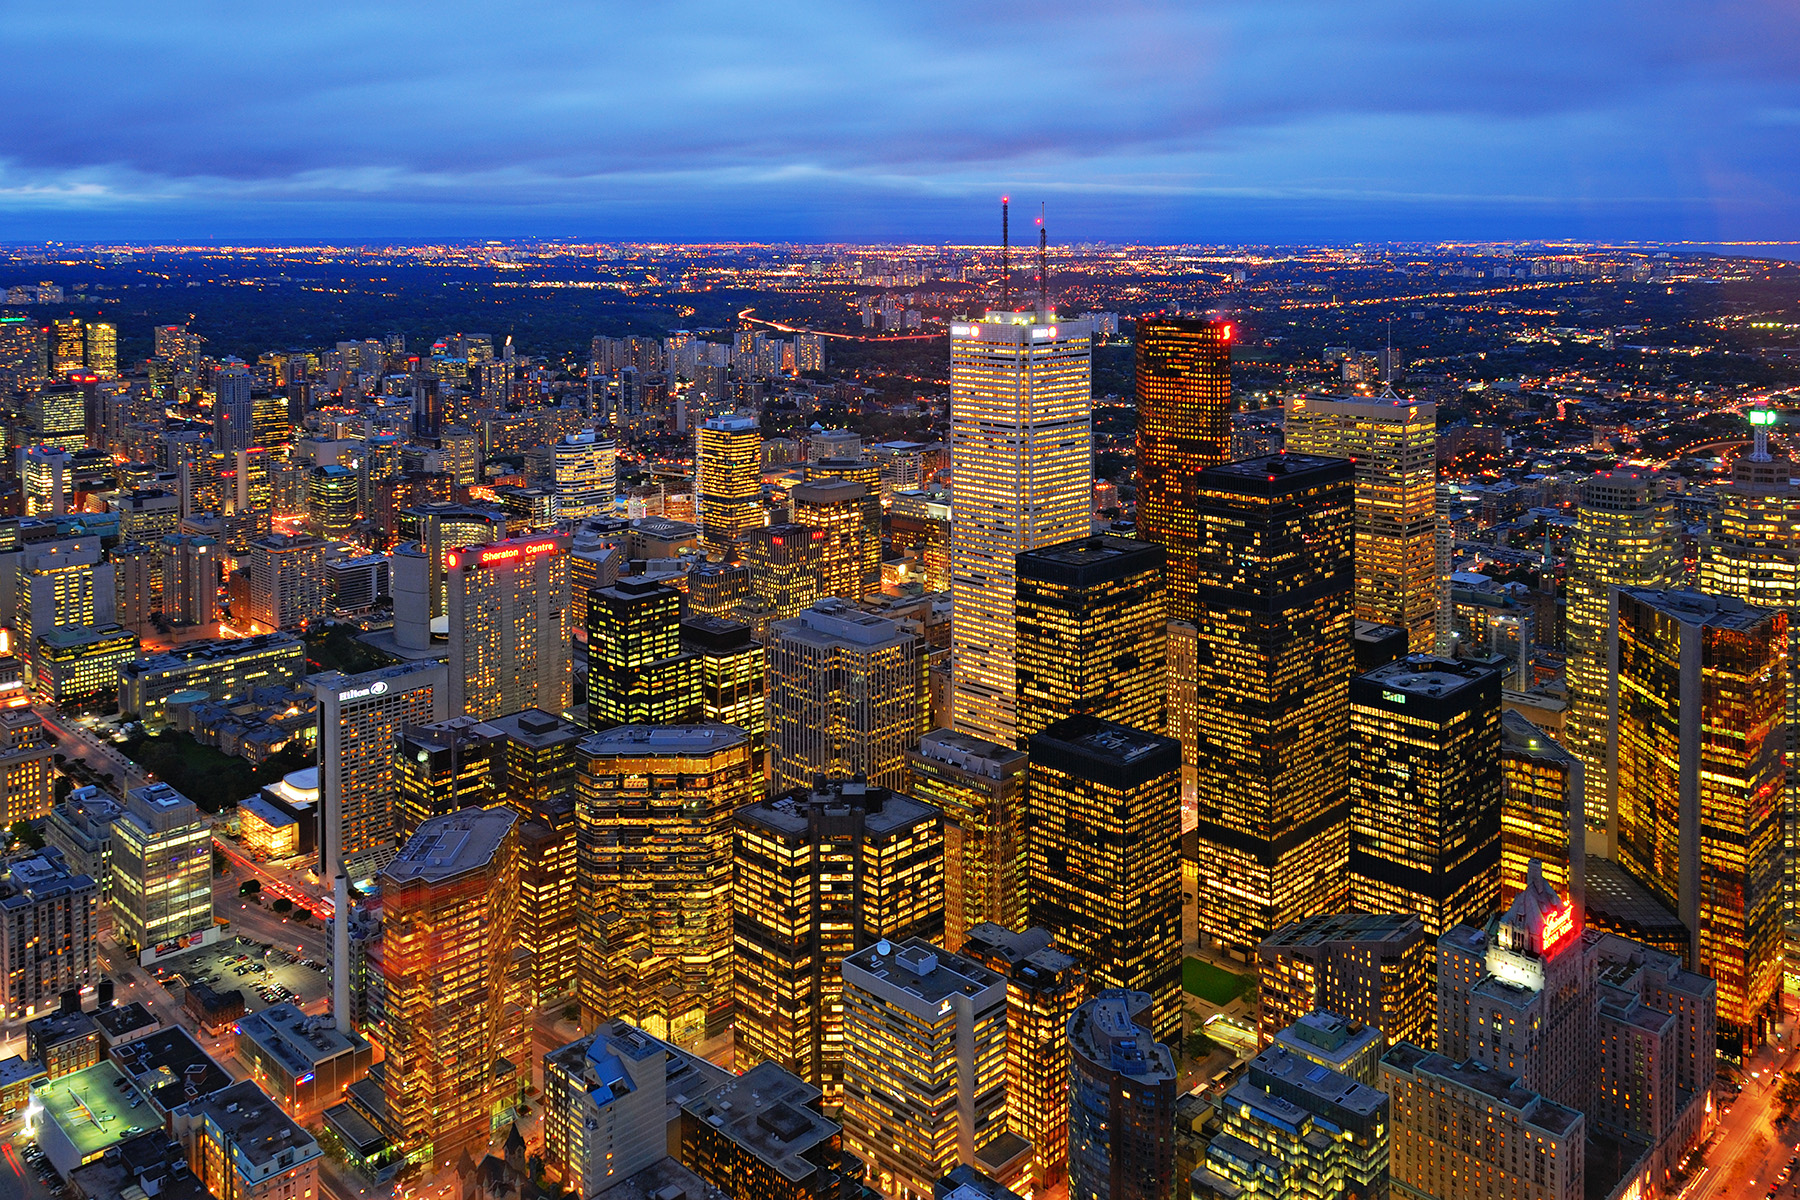
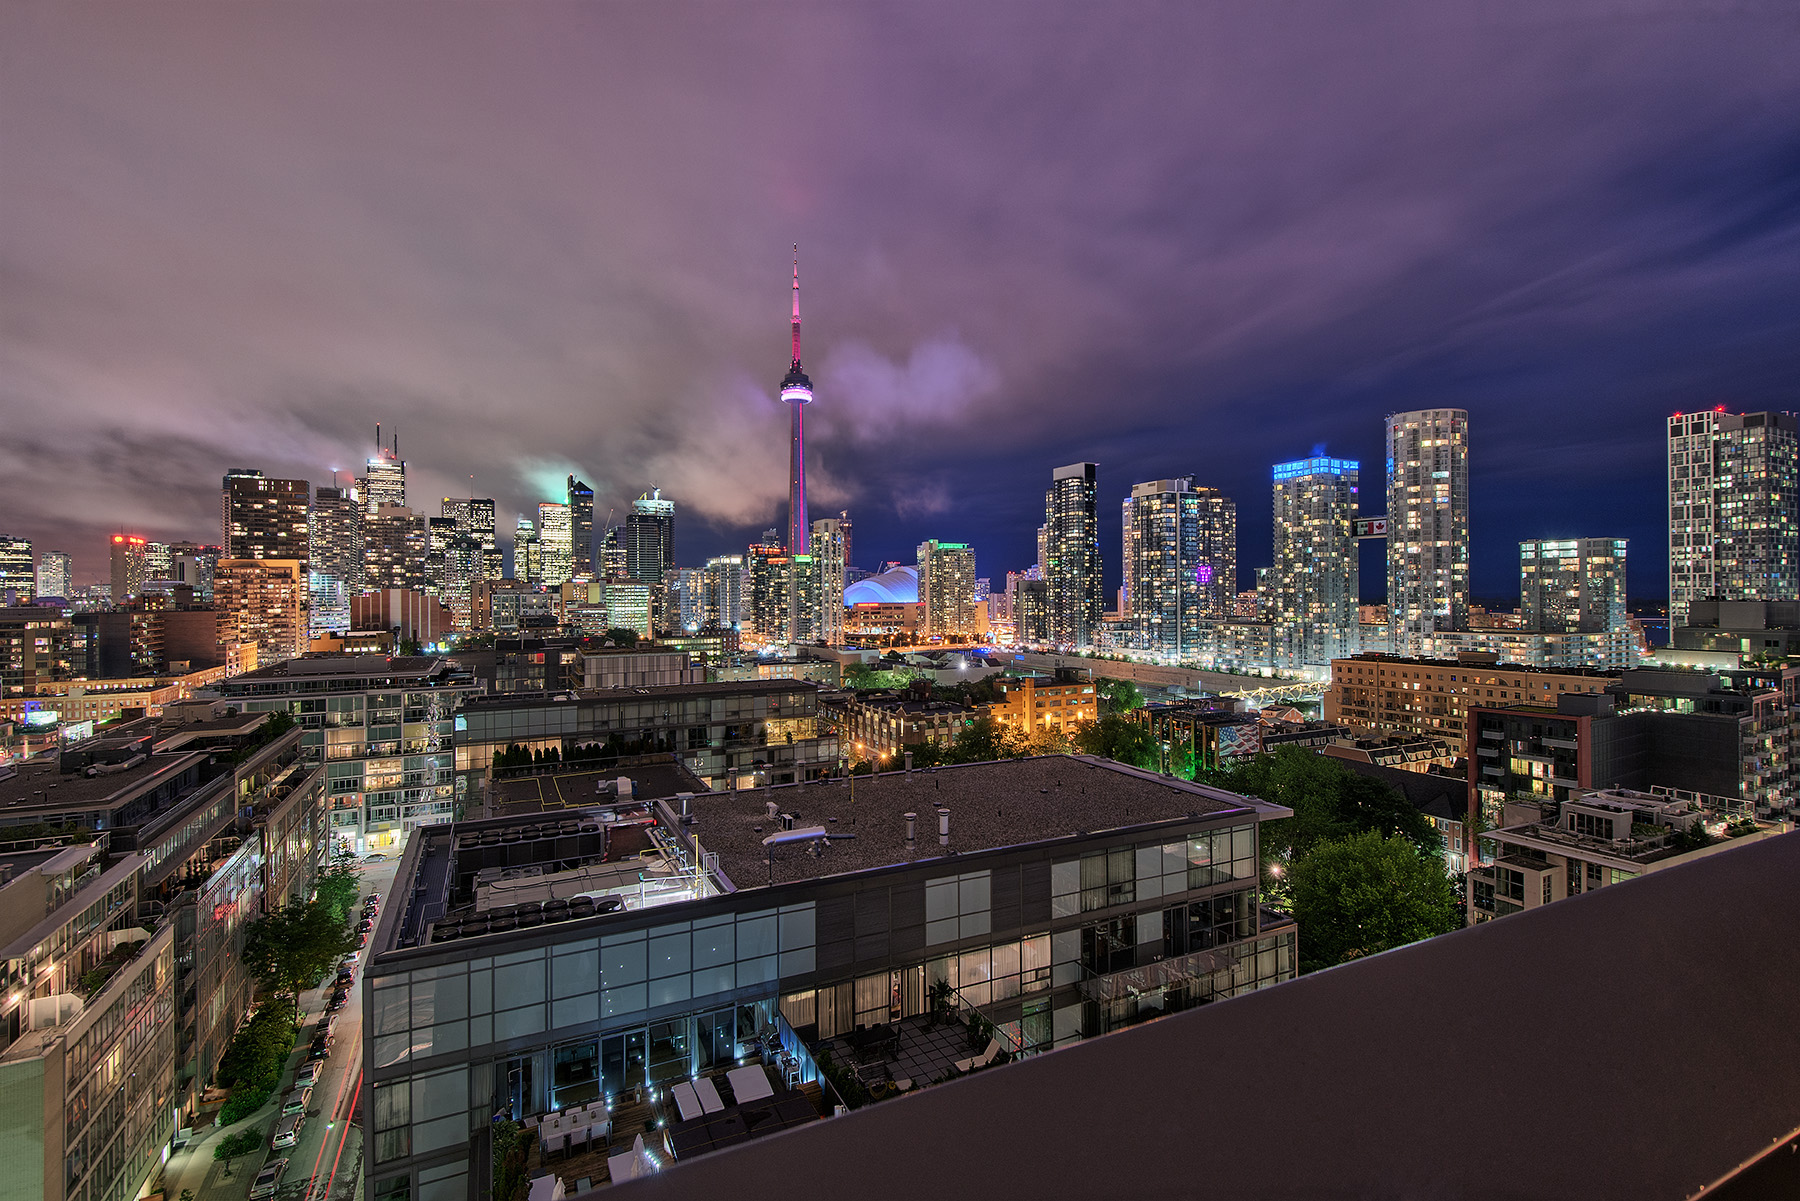
Just like New York has the Empire State Building and Toronto has the CN Tower, also look for belvederes or buildings with panoramic views. However if you are looking for unique vantage points, another solution is to look out for rooftop bars and restaurants. One of the downside of these locations is that you may not be able to carry a tripod. So what to do? Simply give them a phone call and enquire if they would allow you to take a few pictures (with a tripod). The best thing that could happen is that they accept.

Once you’re done with your research and have decided on the places you would like to visit, now is the time to get your gear ready. If you’re planning a visit to the Empire State building or the CN tower, be prepared to leave your tripod at the hotel as security will likely confiscate it during your visit. There are some cool alternatives available nowadays such as clamps, bean bags or even the gorilla pod (see list of alternatives to tripods). With those, you will be able to make the most of these amazing vantage points to capture sharp pictures even at night without a tripod.
Besides a tripod, a remote control trigger will come in handy if you’re planning to capture long exposures. I also love using a 3 axis bubble level on my camera to make sure it’s perfectly levelled. This does save a bit of time in post-processing. As for camera lenses, it all depends on the distance between your shooting location and the skyline you wish to photograph. As a rule, the closer you are from the skyline, the wider the lens you’ll be using. The further you are, the longer the zoom you will need. It’s pretty simple. Now, don’t forget to install some must-have apps on your phone, those can be extremely useful in helping your create stunning images.
One of the other important rules of skyline photography is to always allow time for scouting. I usually like to take between 30-60 minutes to scout the location I’ve targeted; it helps me preview my shots while I’m waiting for the best light.
Timing is extremely important in landscape photography and it is critical in shooting skylines. Using applications such as Sunseeker or The Photographer’s ephemeris, you will be able to preview where the sun will be depending on the time. This is extremely useful as the best moment to shoot skylines is at sunrise and sunset and at dusk/the blue hour.
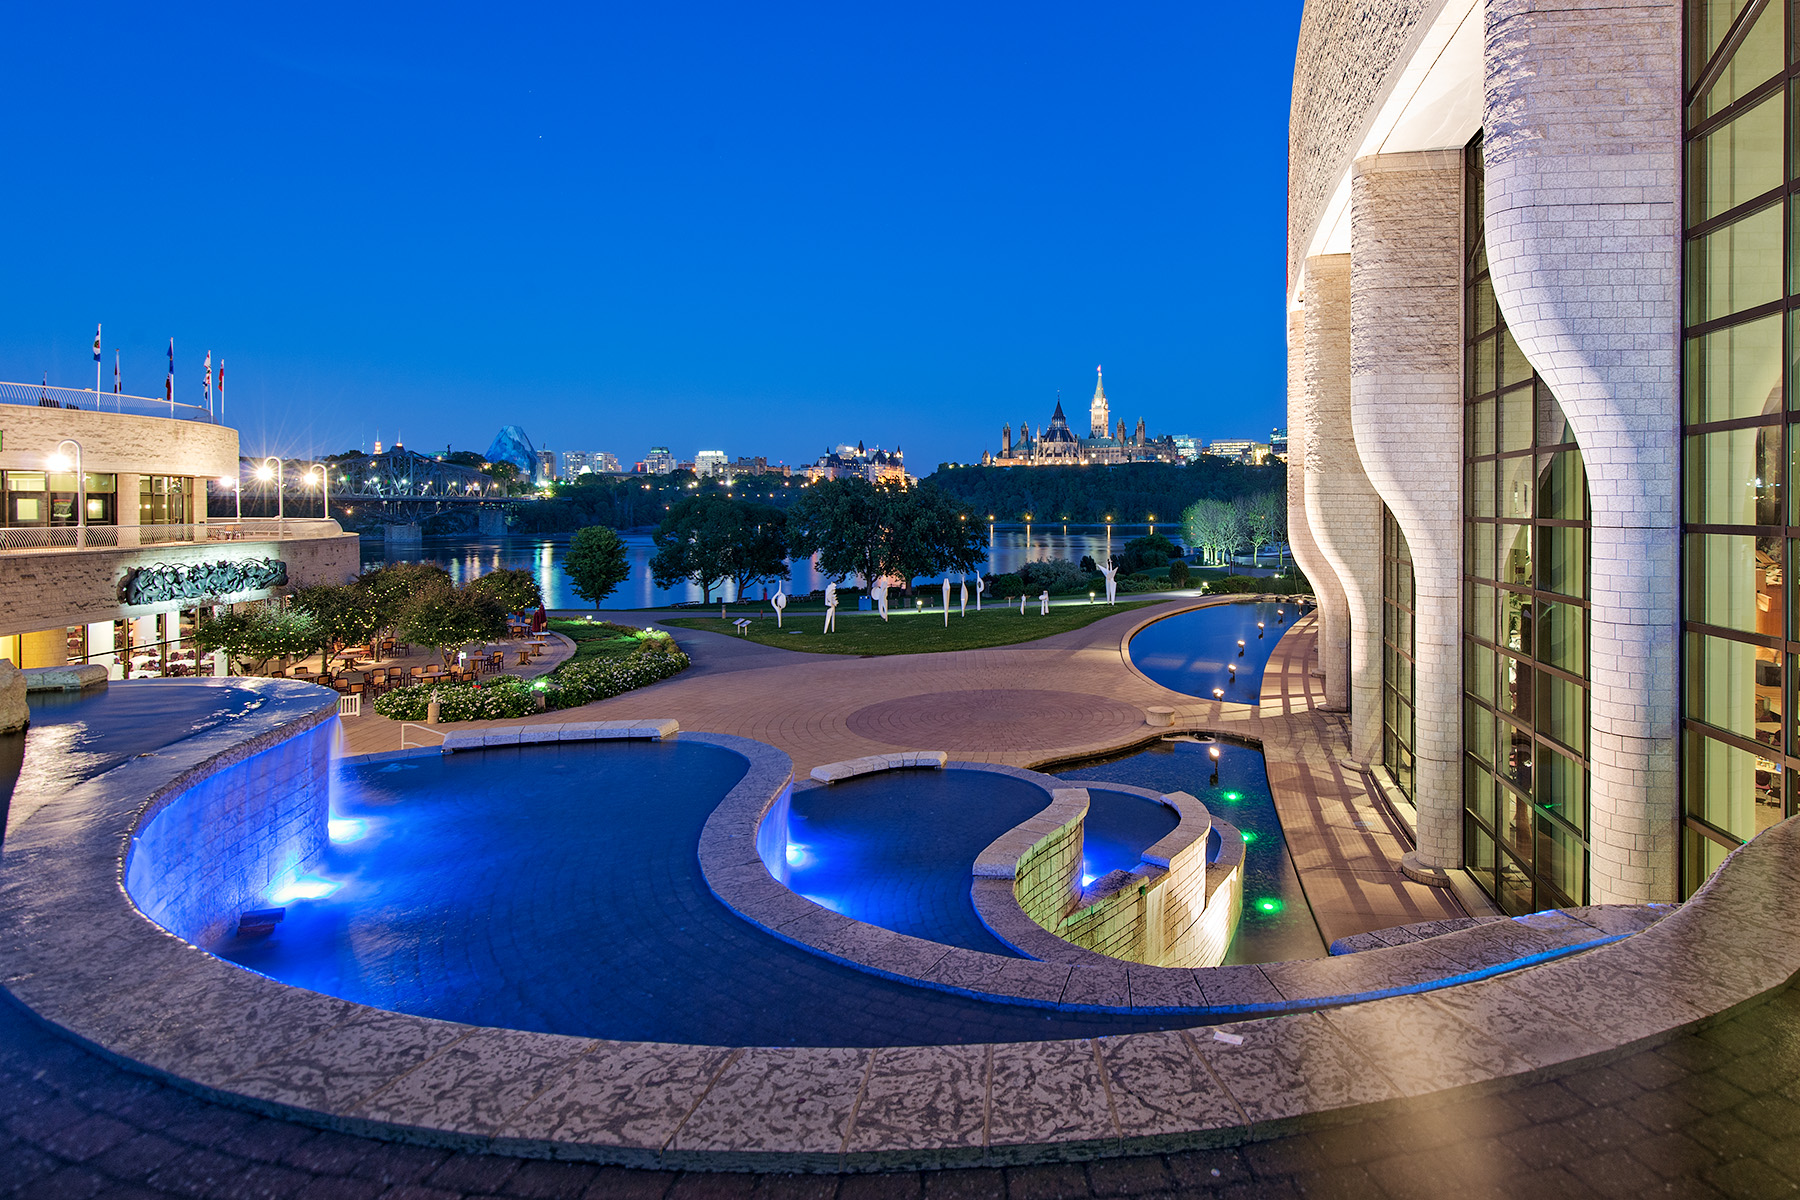
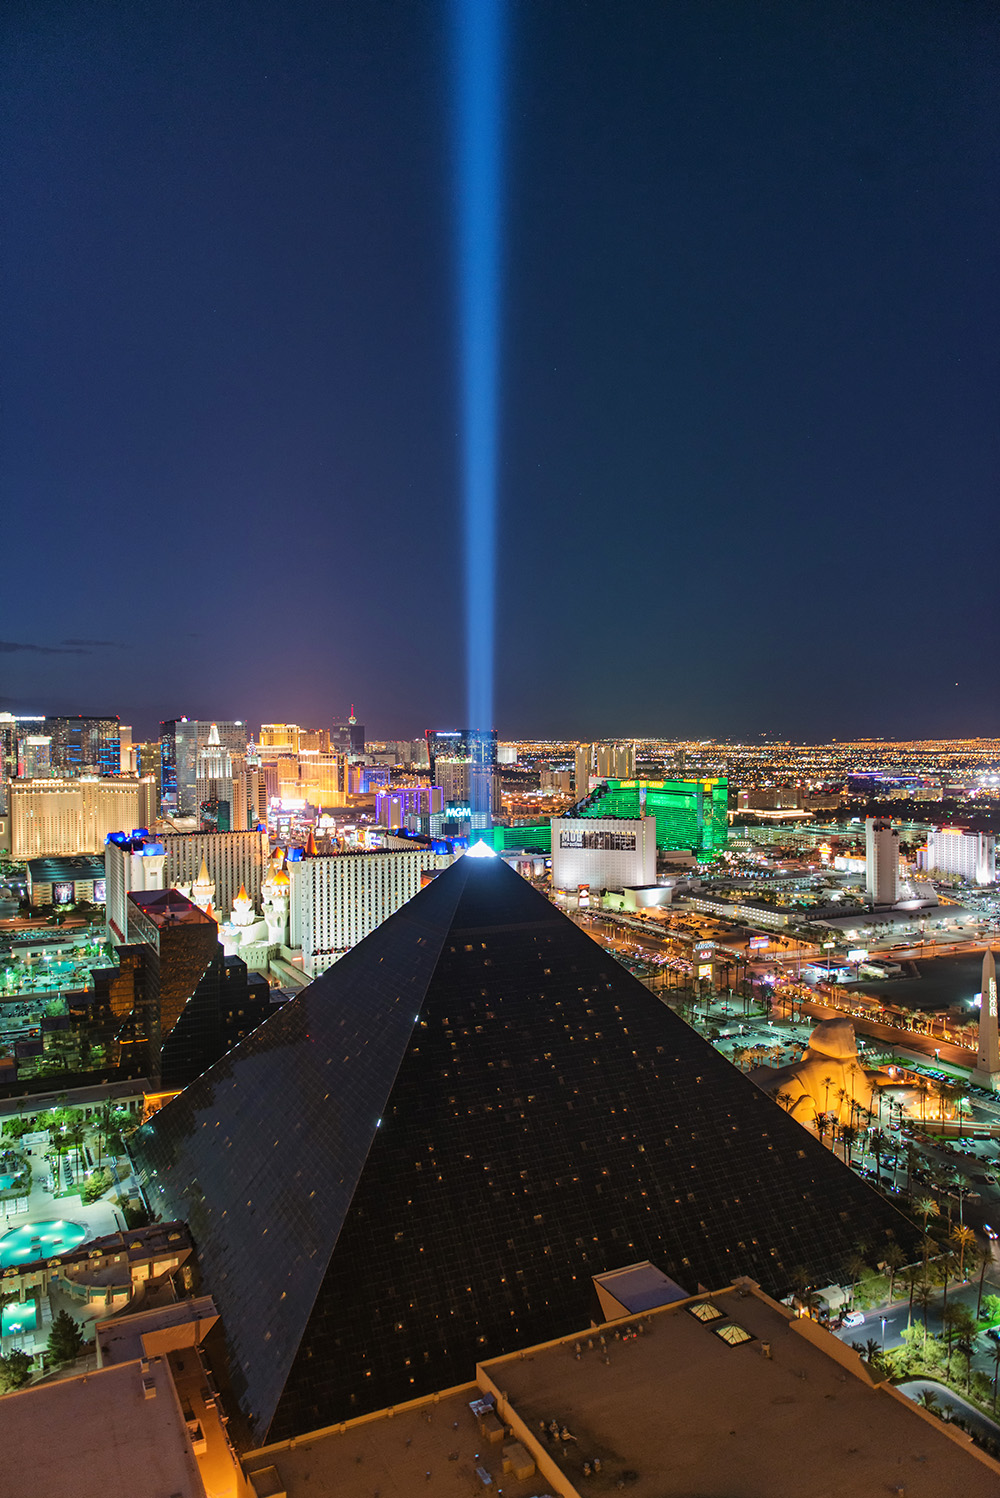
Over the years, my favorite time of the day to shoot skylines has been the blue hour. The contrast between the orange street lights and the dark blue sky makes for a striking contrast and wonderful images. The best moment to capture the blue hour is following a rainy day, when the sky is cleared of its particles and when there is no smog. Usually the sky is more vibrant in spring or fall. Also one important aspect to take consideration is that winter is usually the best time to capture city lights as dusk or nightfall occurs during business hours. In summer, fewer lights are on because dusk happens to be rather late at night.
Usually the best locations to capture skylines are on top of a mountain from a belvedere, across a city park, a highway overpass, a body of water or from the top and rooftop of a building.
When composing your shots, look for reflections and contrasts in architecture or colors and whenever you can, make your foreground interesting as it will add depth to your pictures. Although there is a tendency for landscape shooters to avoid people in their skyline photographs, it can be add some poetry to your pictures. Adding some car trails to a skyline photograph taken across a highway is magical and will create strong leading lines to the skyline itself.
Now that you know all there is to know about capturing the essence of our cities, just follow your intuition and let the city guide you throughout your journey.
Important tips to shoot skylines:
- Bracket your shots to allow blending of exposures in Photoshop
- Add an interesting foreground to add depth to your pictures
- Use a neutral density filter to lengthen your exposures and create stunning car trails
- Use a circular polarizer to create perfect reflections when shooting across a body of water
- Scout for rooftops and unique vantage points (sometimes it’s worth sneaking in high rise buildings to find unique spots).
- Bring a beanbag, clamp or a gorilla pod when a tripod is not allowed
- Don’t be scare to get up close and personal with an extra wide angle or a fish-eye lens, results can be incredibly spectacular.
Thanks for viewing!
David Giral is a published Montreal/Toronto based editorial and commercial professional photographer specialized in architecture, interiors, portrait and travel photography.
Blog | Flickr | Twitter | Facebook | Google+ | LinkedIn | Email | Fine Art America
Text, photographs, and other media are © Copyright David Giral (or others when indicated) and are not in the public domain and may not be used on websites, blogs, or in other media without permission from David Giral.