How To: Understanding Diptychs – When two is better than one
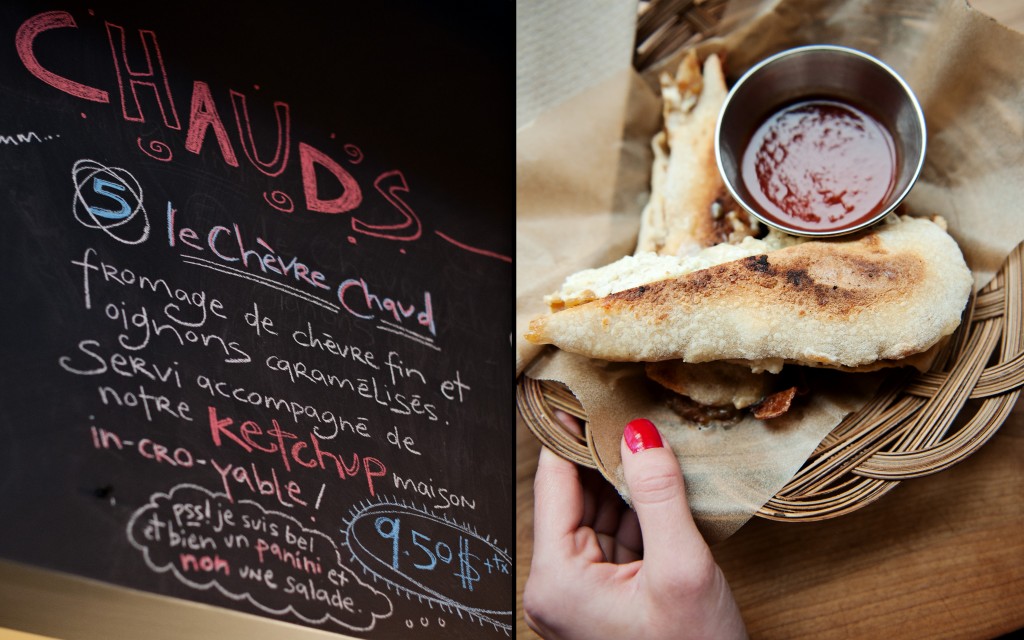
A yummy goat sandwich at olives and Gourmando | Old Montreal, Canada
Lens: 50mm F/1.4 | ISO 800 – 50 mm F/2 1/50s (left) | 50mm F/2.8 1/125s (right)
For this food diptych, notice how easy it is to summarize a restaurant in two pictures, with one picture showing the menu and another one with the plate ready to be served.
So you’d like to start doing diptychs? Dipt-what?? What’s that? Let’s forget Google or Wikipedia for the history lesson and dip into the specifics.
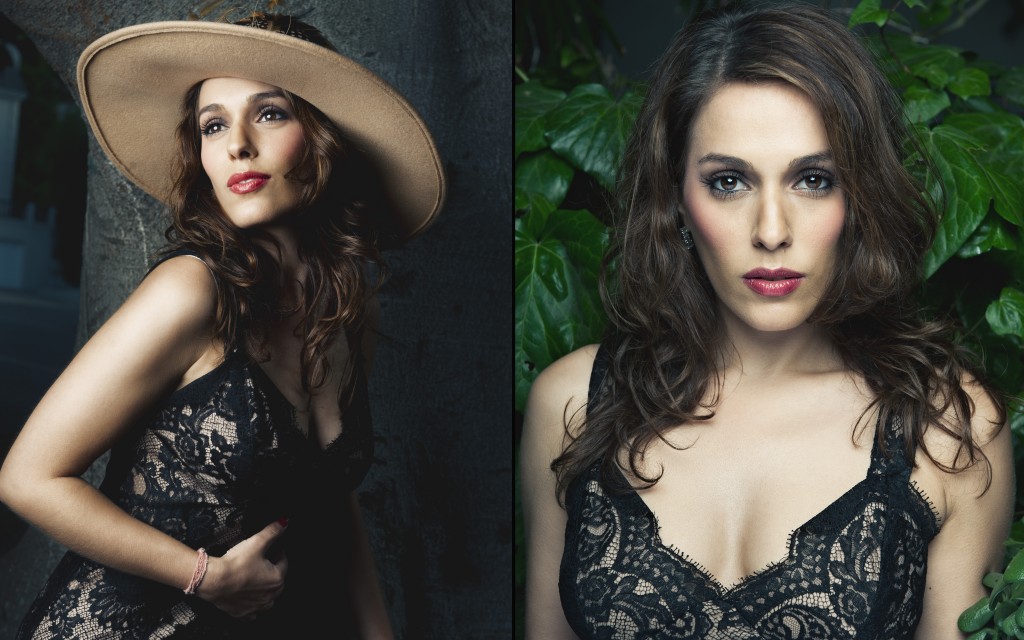
Editorial portraits of Actress Christina DeRosa | Palos Verdes, California
Lens used : 24-70mm F/2.8 | ISO 200 – 60mm F/8.0 1/250s (left) | 70mm F/7.1 1/250s (right).
Here is a classic example of editorial portraiture’s diptych with one picture showing Christina looking away from the camera and another one looking straight at the camera. The energy of each shot is different, showcasing the versatility of a talented actress. Notice how the two pictures use the same cross-processing effect.
WHAT’S A DIPTYCH?!?
A diptych is a subtle pairing of two photographs either side by side or one above the other with a specific relationship between them. Through analogies, associations, repetitions or shifts of perspective, a photographer looks to enhance the viewer’s interaction, communicate ideas, share emotions. It’s also a simple way to tell a story, share a moment, or give a different perspective on a theme. What’s fascinating about the diptychs, it’s their ability to create ambiguous feelings and also puzzle the audience who will tend to figure out the relationship between both pictures.
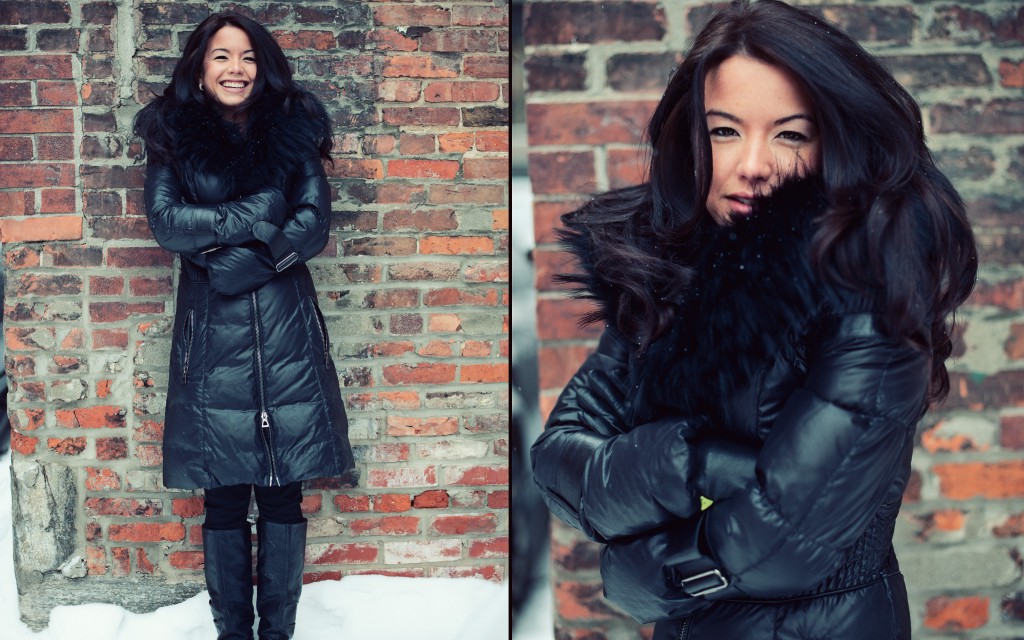
Editorial winter portrait of stylist Patricia Trepanier | Old Montreal, Canada
Lens used: 50mm F/1.4 | ISO 800 – 50 mm F/2 1/800s (left) | 50mm F/2 1/800s (right)
Another classic example of editorial portraiture, with a full body shot of Patricia and then coming closer to her, a headshot (both pictures using the same lens once again). These two pictures also give a sense of Patricia’s personality. Once again, pictures were cross-processed using the same technique.
WHY SHOULD I SHOOT DIPTYCHS??
Practically, diptychs are also often used when presenting printed portfolios. It’s a good way to show the viewers your ability to tell stories or present concepts. It gives a better flow to a portfolio by having two images from the same spread with some commonalities.
Now, let’s focus on shooting diptychs in assignment photography.
SHOOT IN PORTRAIT ORIENTATION
Considering a diptych is a pairing of two photographs side by side (most of the time), it’s important to shoot in portrait orientation as much as possible. This will make the process of assembling the pictures so much easier later on. At first it may seem unnatural to shoot this way, however the more your practice the better you will get.
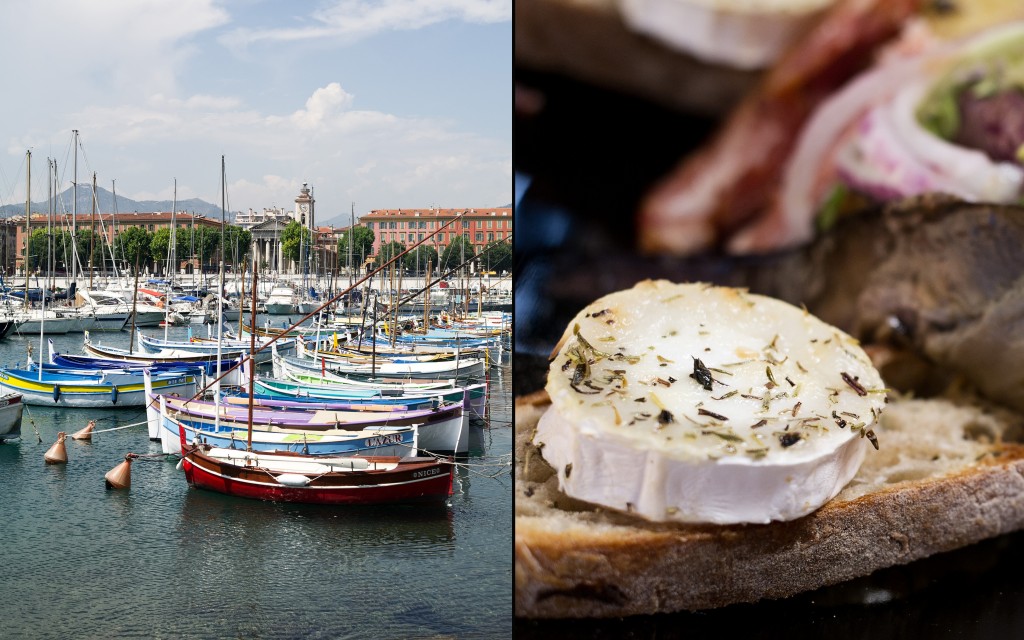
A tasteful goat cheese salad | Nice, French Riviera, France
ISO 200 | 46mm F/3.2 1/3200s (left) | 46mm F/3.2 1/400s (right)
This example demonstrate perfectly how to showcase local cuisine for a specific location in an editorial. Acknowledge how the first picture on the left sets the location and how the second shows us what kind of local cuisine is cooked there
PAY ATTENTION TO THE ASPECT RATIO
When I shoot, I always tend to visualize how I’m going to use the picture while I take it. When you shoot in landscape orientation, it’s not as important to focus on the aspect ratio. However when you shoot in portrait orientation, it is critical to take into consideration that most publications & portfolios use an 8×10” format. What that means is that it’s best to leave some unused space in your composition.
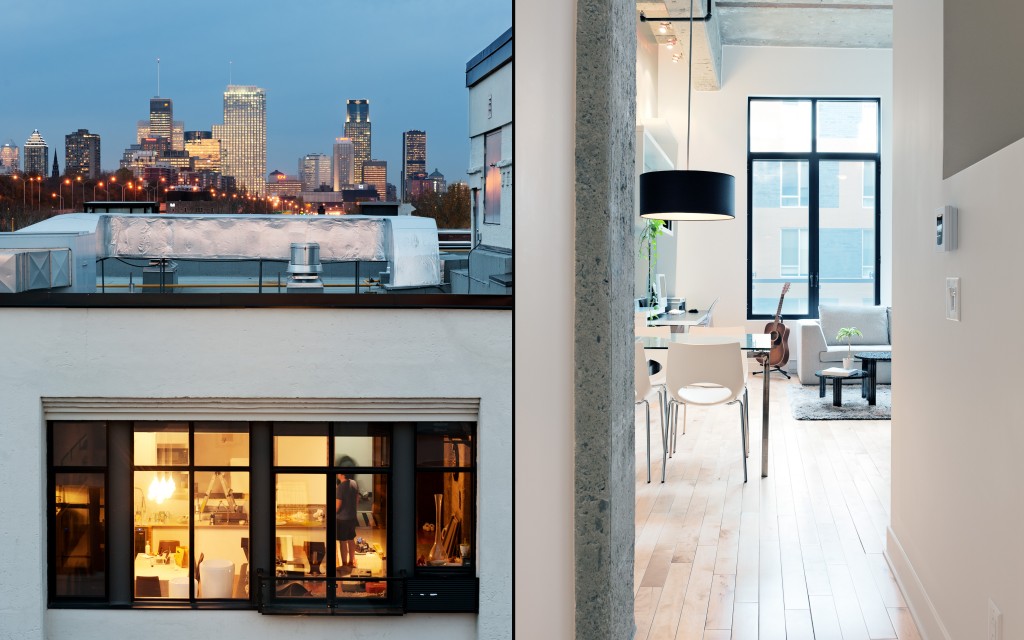
Imperial Lofts | Montreal, Canada
Lens used: 24-70mm F/2.8 | ISO 200 | 62mm F/8.0 1.6s (left) | 31mm F/9.0 0.6s
The first picture gives a sense of location of the lofts with a loft being renovated. The second picture shifts our perspective by putting us inside the building and letting us visualize a finished condominium.
BE CONSISTENT
A factor to take into consideration is consistency. It’s best to shoot at a fixed length or a fixed aperture in order to have the feeling the images belong together. Consistency is also critical when you post-process the images. This will reinforce the concept to have the pictures show some similarities in terms of depth of field, colors, contrast, palette and composition styles.
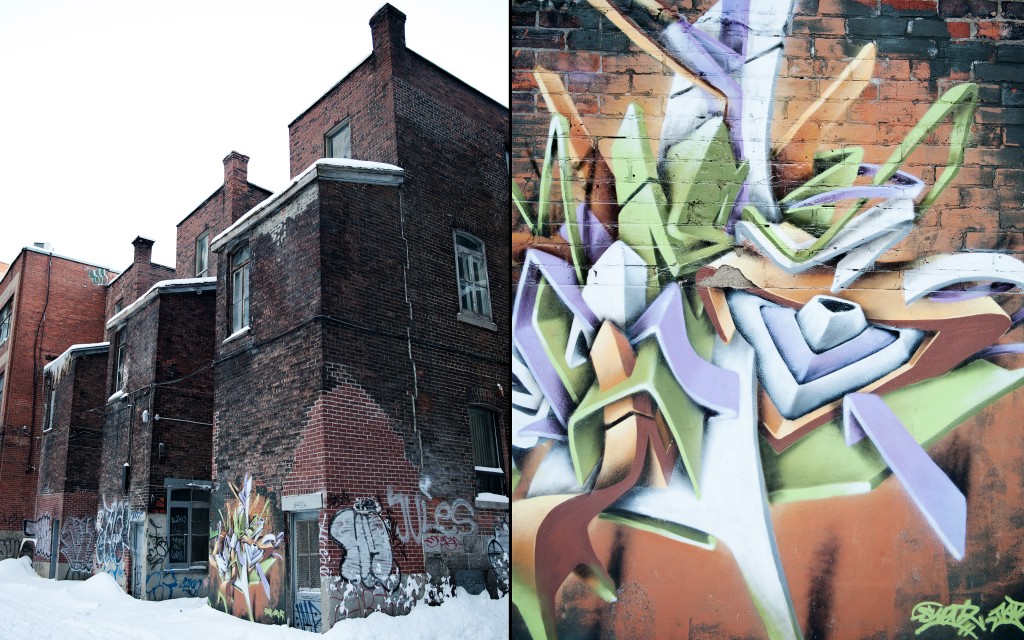
Colourful graffiti in Downtown Montreal | Montreal, Canada
Lens: 24-70mm F/2.8 | ISO 200 | 31mm F/2.8 1/80s (left) | 31mm F/2.8 1/80s (right)
Notice in that example, with the same zoom, how it’s possible to give a sense of location, scale and context for this graffiti.
THINK AND SHOOT FOR DIPTYCHS
Now that you understand the basic rules of shooting diptychs, let’s move on the specifics of shooting them. Possible pairings involve different perspectives and angles, textures, patterns, before / afters, seasonal aspects, colors (same and different), bottom / up (portraiture), out of focus / in focus, emotions, portrait / context, action / consequence, light, manufacturing / end product and big picture/details. Look into your favourite magazine and see which kind of pairings exist and figure out what was the intent. The more you will understand the process, the more intuitive your shooting will be.
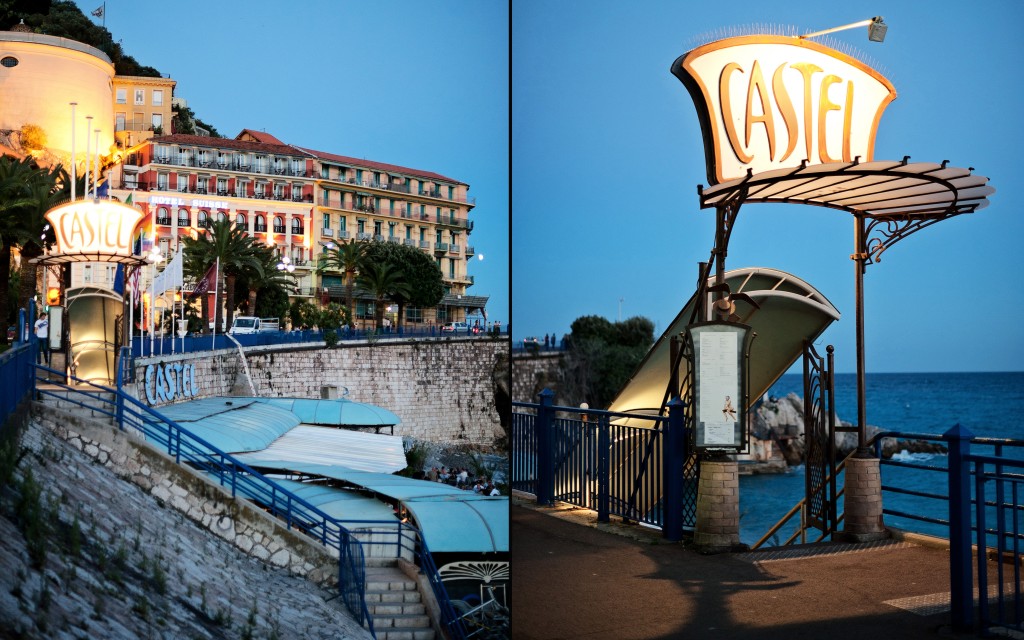
The Castel Beach at dusk, Promenade des Anglais | Nice, French Riviera, France
Lens: 50mm F/1.4 | ISO 400 | 50mm F/1.4 1/100s (left) | 50mm F/1.4 1/100s (right)
Another simple example of to show details of a specific place. Notice how the first picture shows us that entrance and how by getting closer we can capture a nice detail of that location.
GET THE BIG PICTURE THEN GO INTO DETAILS
For example, let’s say you want to shoot inside a coffee shop, you could start by shooting a wide angle view of the shop, and then photograph some details, or you could take a portrait of the owner and then take a picture of his hands preparing the beverage. You could also take some pictures of the beans in their container and combine it with the picture of a cup of coffee. You could also take a picture of the hands of a customer waiting to take a sip and shoot a portrait of her waiting for someone. And why not mix a portrait along with a nice texture shot of the location. The possibilities are endless and the only limit is your imagination. Keep an open mind while shooting and follow your intuition.
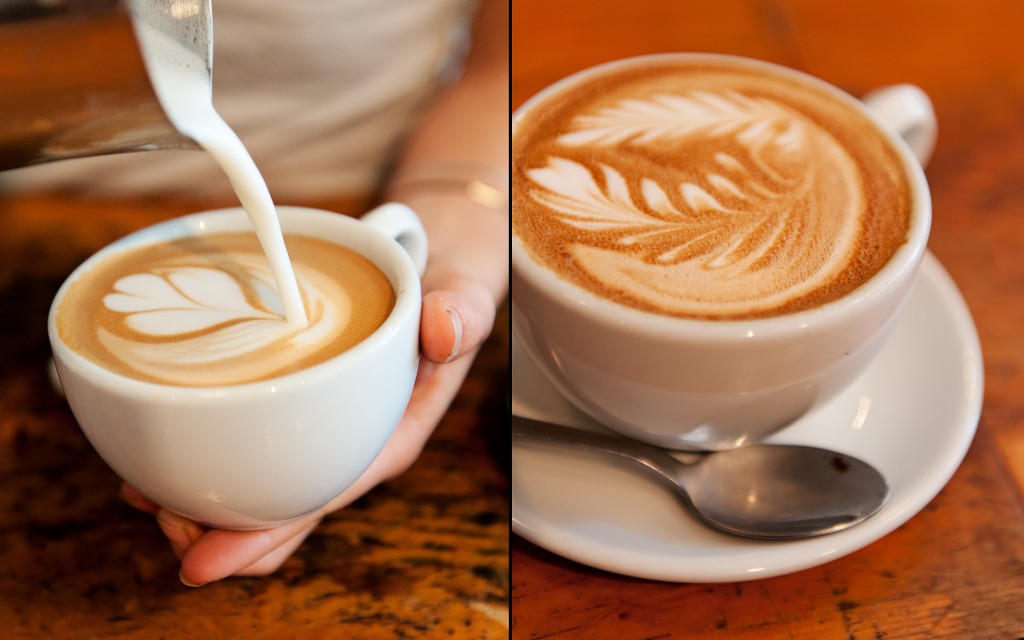
Quick guide on how to make a latte | café névé, Montreal, Canada
Lens: 24-70mm F/2.8 | ISO 800 – 48mm F/2.8 1/250s (left) | ISO 400 – 62mm F/2.8 1/160s (right)
This is a perfect example of how to showcase a process with just two pictures. The first one shows the making of and the second the finished product. Simple, yet effective.
FOLLOW YOUR INTUITION
Sometimes after a day of shooting, it’s when you review all the pictures that you took that you realize that two images fit amazingly together even though you didn’t think about it when you took them. Just like when you’re shooting just follow the intuition and share your diptychs with others so they can tell you how they feel about it or if it evokes something for them.
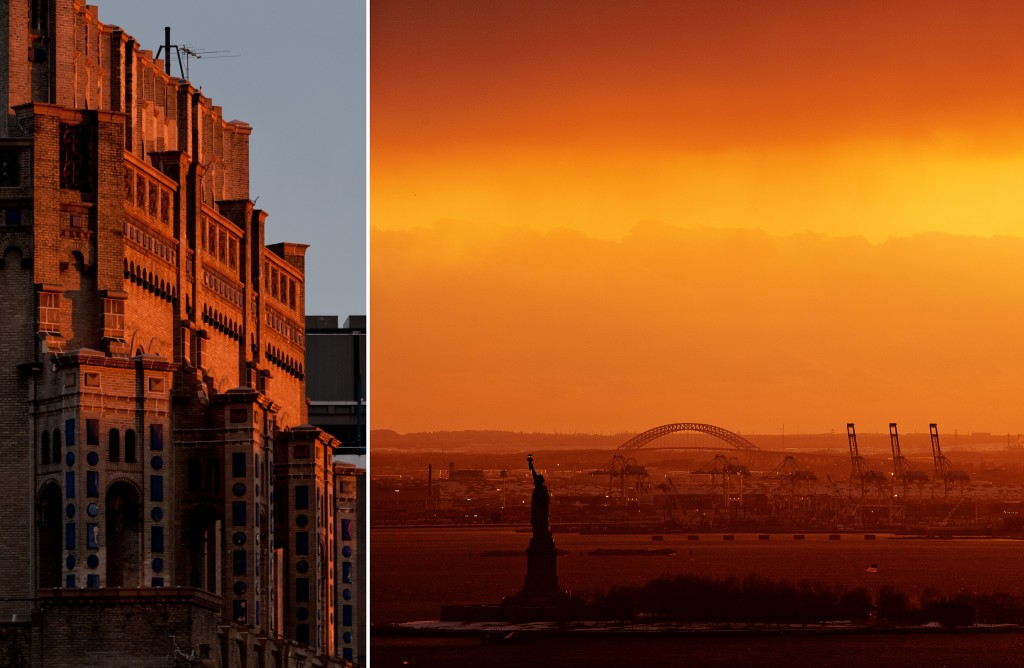
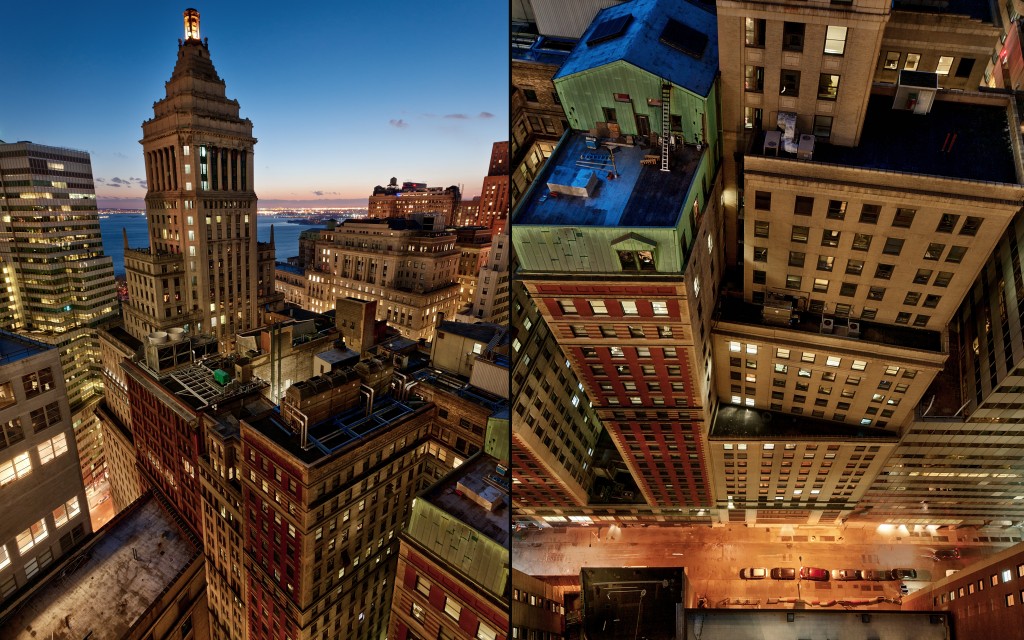
A spectacular sunset over NYC and statue of Liberty | New-York City, USA
Lens used: 70-200mm F/2.8 | ISO 200 – 116mm F/8 1/30s (left) | 200mm F/8 1/125s (right)
In that example taken from the 20th floor of a building in the Wall Street district of Manhattan, with a rather unusual composition for a diptych, we see how a wonderful orange sunset can affect two different structures. It also shows how the gaze travels by first acknowledging the light on the building and then moving to the right and noticing the effect on the Statue of Liberty.
BE PATIENT
Sometimes we don’t see the patterns immediately and it can take years before we can finally match two pictures together. So don’t dismiss any pictures too quickly and let time do its magic.
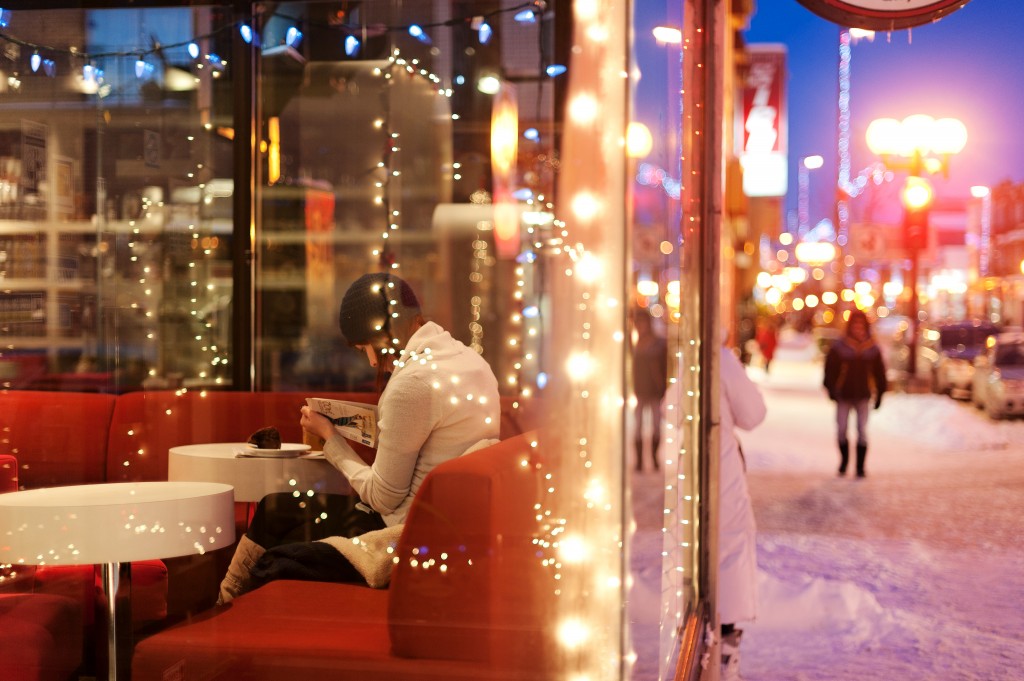
The girl reading at the coffee shop | Montreal, Canada
Lens: 50mm F/1.4 | ISO 400 – 50mm F/1.4 1/50s
This is a perfect example of a natural diptych. Notice the contrast between the girl being warm and reading inside and the cold weather outside in the street.
GO THE EXTRA-MILE
Now that you master diptychs, why not go the extra-mile and shoot triptychs! Just follow your intuition and have fun with it!
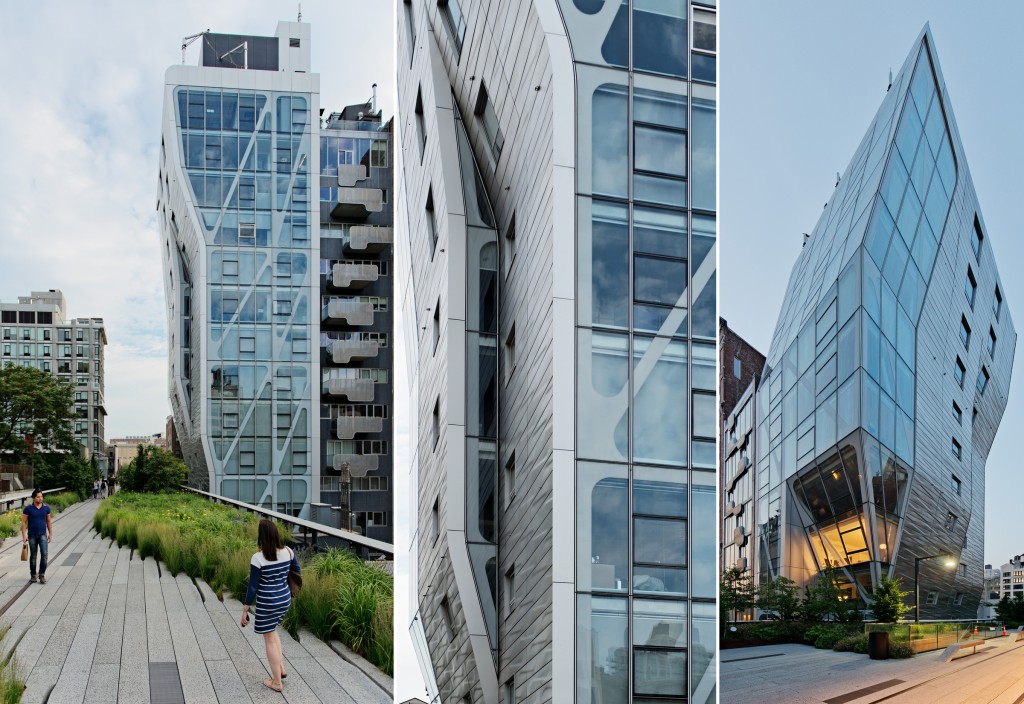
The different sides of a contemporary building on the Highline | Highline Park, Chelsea, NYC
This is a great example of how three pictures can paint a good picture of the different sides of a building and show the big picture and some details in just one triptych.
Show us your diptychs and tell us more about them!
David Giral is a published Montreal/Toronto based editorial and commercial professional photographer specialized in architecture, interiors, portrait and travel photography.
Blog | Flickr | Twitter | Facebook | Google+ | LinkedIn | Email | Fine Art America
Text, photographs, and other media are © Copyright David Giral (or others when indicated) and are not in the public domain and may not be used on websites, blogs, or in other media without permission from David Giral.


